In the ever-evolving world of nail art, acrylic coffin nails have emerged as a timeless yet trendy choice that dominates salon requests and social media feeds. Characterized by their tapered sides and squared-off tips resembling a coffin (or sometimes called “ballerina nails”), this style offers the perfect canvas for creative expression while maintaining an elegant silhouette. Whether you’re a nail art enthusiast, a professional technician, or someone considering this style for the first time, this comprehensive guide will walk you through everything you need to know about achieving, maintaining, and rocking acrylic coffin nails like a pro.
What Are Acrylic Coffin Nails? Understanding the Basics
Acrylic coffin nails combine two key elements: the acrylic enhancement system and the distinctive coffin shape. Unlike natural nails or simple polish applications, acrylic nails involve a liquid monomer and powder polymer that create a durable, protective layer over your natural nails or extensions.
Defining the Coffin Shape
The coffin shape is instantly recognizable:
- Tapered Sides: The nail narrows gradually from the cuticle to the tip
- Squared-Off Tip: Unlike almond or stiletto nails, the tip is flat and squared
- Length Versatility: Works beautifully on short, medium, or long extensions
- Visual Impact: Creates an elongating effect on fingers
Why Choose Acrylic for Coffin Nails?
Acrylic is particularly well-suited for coffin shapes because:
- Strength & Durability: Acrylic provides structural integrity to support the squared tip
- Versatility: Can be applied over natural nails, tips, or forms
- Customization: Easily filed into the precise coffin silhouette
- Longevity: Typically lasts 2-3 weeks with proper care
- Repairability: Chips or breaks can be fixed without complete removal
The Science Behind Acrylic Nails: How They Work
Understanding the chemistry helps appreciate why acrylic remains a top choice for coffin nails:
The Acrylic Process
- Monomer & Polymer Reaction: Liquid monomer (ethyl methacrylate) reacts with powdered polymer (polymethyl methacrylate) when mixed
- Formation: The combination creates a dough-like substance that hardens through polymerization
- Adhesion: The acrylic bonds to the natural nail plate (or tip/form) through microscopic etching
- Curing: Unlike gel, acrylic air-dries without UV light

Key Components
- Liquid Monomer: The activator that starts the chemical reaction
- Acrylic Powder: Available in clear, pink, white, or colored options
- Primer: Enhances adhesion (acid-based or acid-free)
- Dehydrator: Removes moisture and oils from the natural nail
- Top Coat: Seals and protects the finished enhancement
Step-by-Step Guide: Getting Acrylic Coffin Nails at the Salon
For those new to acrylic coffin nails, here’s what to expect during a professional application:
1. Consultation & Nail Prep (15-20 minutes)
- Discussion: Your nail technician will assess your natural nails, discuss desired length and shape, and review design options
- Nail Analysis: Checking for any damage, infections, or conditions that might affect application
- Length & Shape Selection: Deciding on extension length and confirming the coffin silhouette
- Design Planning: Choosing colors, art, and embellishments
2. Natural Nail Preparation (10-15 minutes)
- Cleaning: Thorough washing and sanitizing of hands and nails
- Cuticle Work: Gently pushing back and trimming excess cuticle tissue
- Surface Dehydration: Applying dehydrator to remove moisture and oils
- Primer Application: Applying primer to enhance acrylic adhesion
- Nail Etching: Lightly buffing the natural nail surface for better grip
3. Tip Application or Form Placement (5-10 minutes)
Option A: Tips
- Selecting appropriately sized plastic nail tips
- Applying tip adhesive and positioning on the natural nail
- Blending the seam where tip meets natural nail
- Cutting and rough-shaping to desired length
Option B: Forms
- Placing reusable or disposable forms under the free edge
- Adjusting to create the perfect coffin shape foundation
- Ensuring proper support for the acrylic application
4. Acrylic Application (20-30 minutes)
- Dip Method: Dipping the brush in monomer, then into powder to create a bead
- Patting Technique: Placing the acrylic bead near the cuticle and patting toward the free edge
- Zone Application: Working in three zones (cuticle, middle, free edge) for even distribution
- Shape Building: Creating the coffin silhouette during application
- Curing Time: Allowing each layer to air-dry before adding more
5. Filing & Shaping (15-20 minutes)
- Rough Shaping: Using a coarse file to establish the coffin silhouette
- Refinement: Switching to finer files to perfect the shape
- Symmetry Check: Ensuring all nails match in length and shape
- Surface Smoothing: Buffing to eliminate ridges and bumps

6. Design & Artwork (30-60 minutes, depending on complexity)
- Base Color: Applying polish or pigmented acrylic
- Art Techniques: Hand-painting, stamping, foiling, or embedding embellishments
- 3D Elements: Adding charms, rhinestones, or acrylic extensions
- Special Effects: Ombré, marble, chrome, or other trendy finishes
7. Sealing & Finishing (10 minutes)
- Top Coat Application: Applying a high-gloss or matte top coat
- Cuticle Oil: Nourishing the surrounding skin
- Final Inspection: Checking for imperfections
- Aftercare Instructions: Providing guidance for maintenance

DIY Acrylic Coffin Nails: At-Home Application Guide
For those comfortable with nail art, creating acrylic coffin nails at home is possible with the right tools and technique:
Essential Tools & Products
- Acrylic System: Professional-grade liquid monomer and acrylic powder
- Nail Prep Kit: Dehydrator, primer, cuticle pusher, nail file
- Forms or Tips: Depending on your preferred method
- Application Tools: Acrylic brush (size 8-10 recommended), dappen dish
- Shaping Tools: Various grit files, buffer block
- Safety Equipment: Mask, ventilation fan, gloves
Step-by-Step DIY Process
- Workspace Setup: Ensure good ventilation and a clean, organized space
- Natural Nail Prep: Clean, dehydrate, and prime nails as professionals do
- Tip/Form Application: Choose your method and apply carefully
- Acrylic Mixing: Practice creating the perfect bead consistency
- Application Technique: Start with less product – you can always add more
- Shape Development: Focus on creating the coffin silhouette during application
- Curing Time: Allow adequate drying between layers
- Filing & Refinement: Take your time perfecting the shape
- Design & Sealing: Apply your chosen artwork and finish with top coat
Pro Tips for DIY Success
- Practice First: Try on practice tips before working on your own nails
- Work Quickly: Acrylic starts setting within 30-60 seconds
- Thin Layers: Apply multiple thin layers rather than one thick one
- Brush Care: Clean your brush immediately after use to prevent damage
- Safety First: Always work in a well-ventilated area and wear a mask

50+ Stunning Acrylic Coffin Nail Design Ideas
The coffin shape provides an excellent canvas for creativity. Here are trending designs to inspire your next manicure:
Classic & Elegant
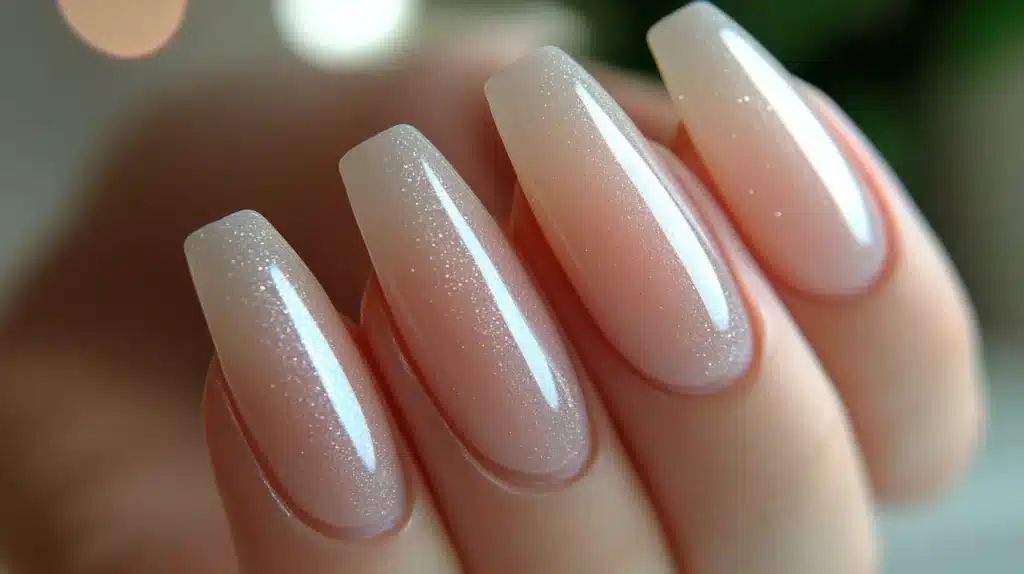
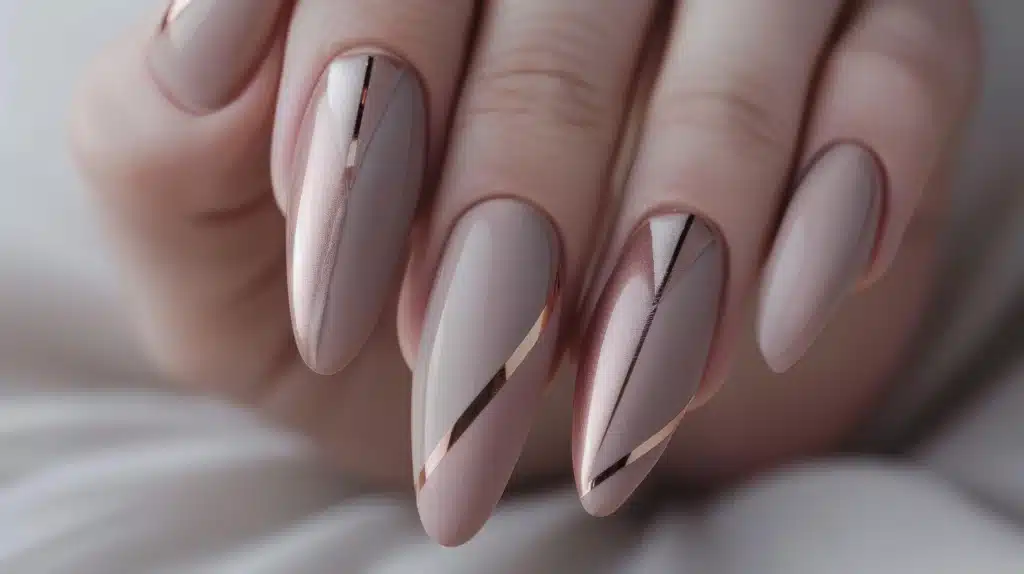
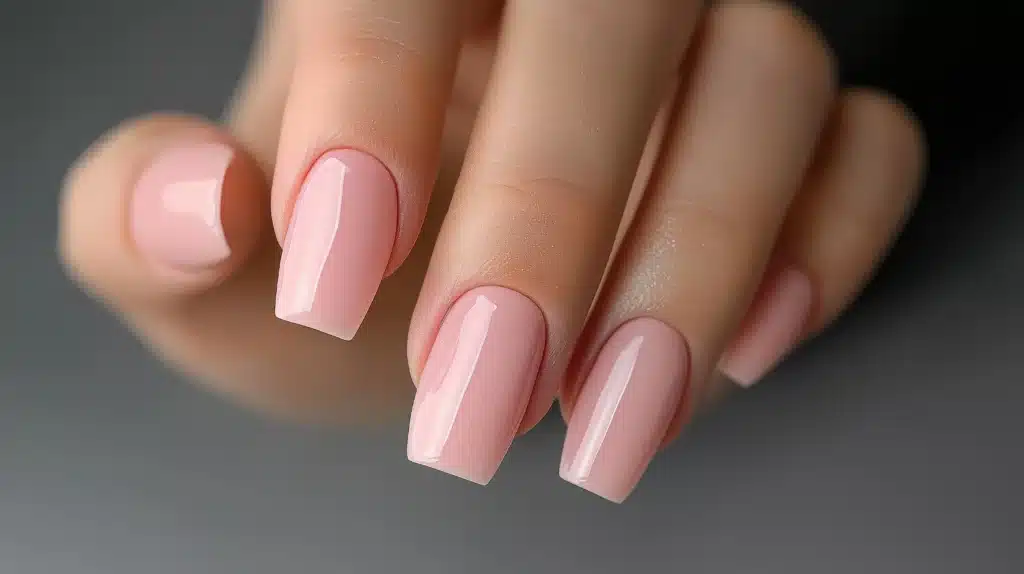
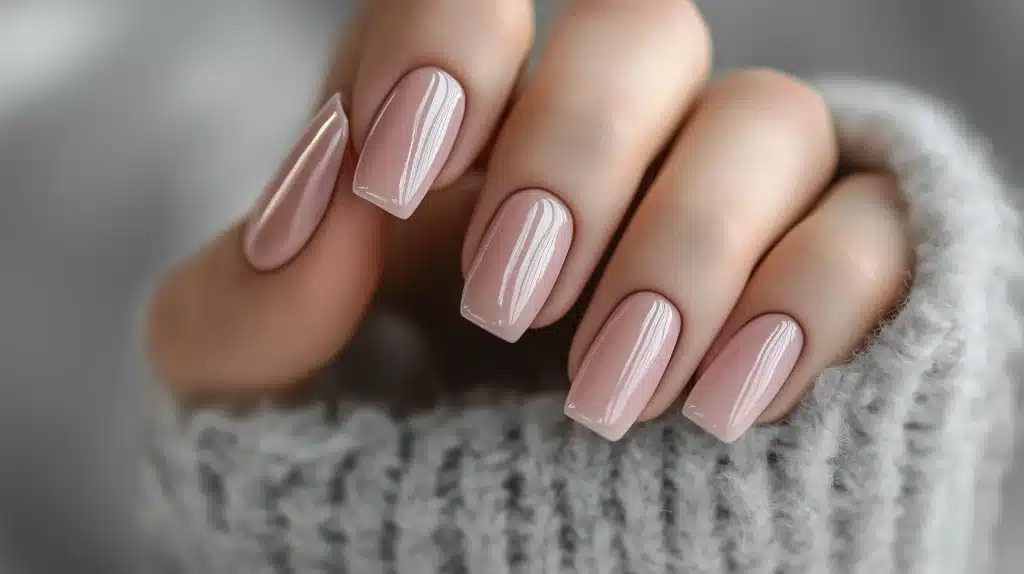
- Nude Ombré: Gradual fade from light to dark nude tones
- French Tip Coffin: Modern twist on the classic with colored tips
- Pearl Accent: Subtle pearls along the cuticle or tip
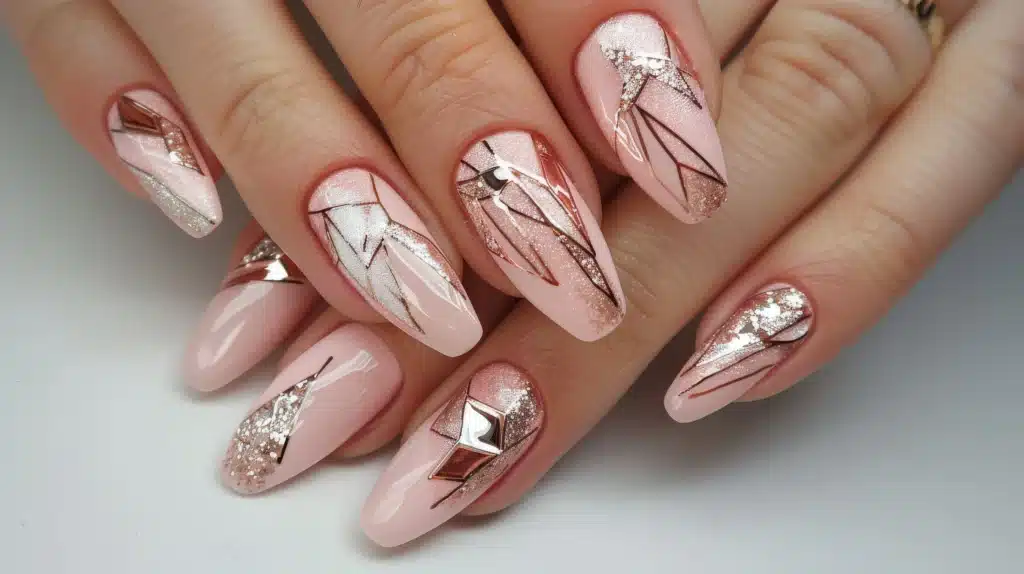
- Gold Foil Details: Delicate gold leaf accents on neutral base
- Minimalist Lines: Single metallic line across each nail
Bold & Vibrant
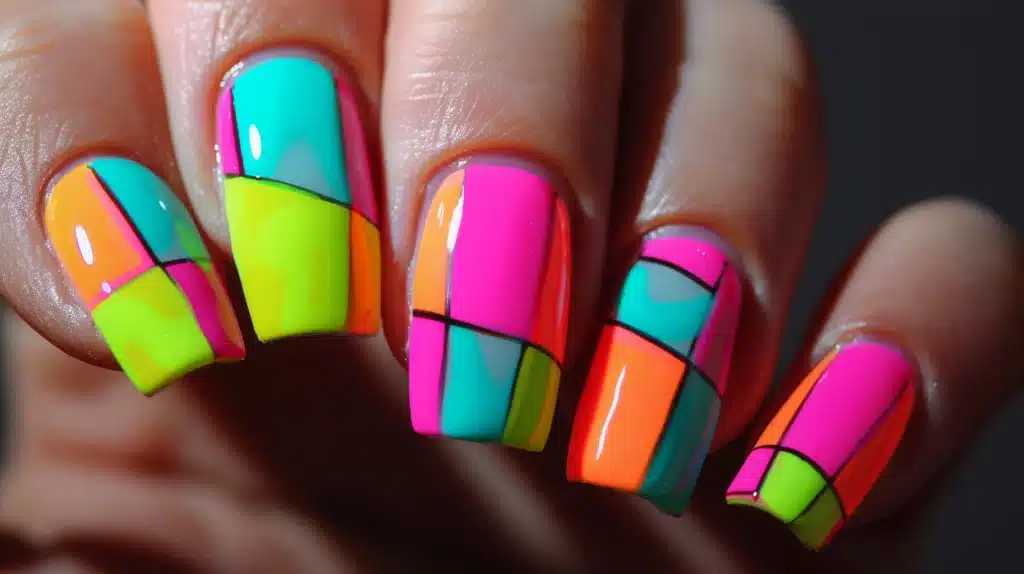
- Neon Geometric: Bright colors in angular patterns
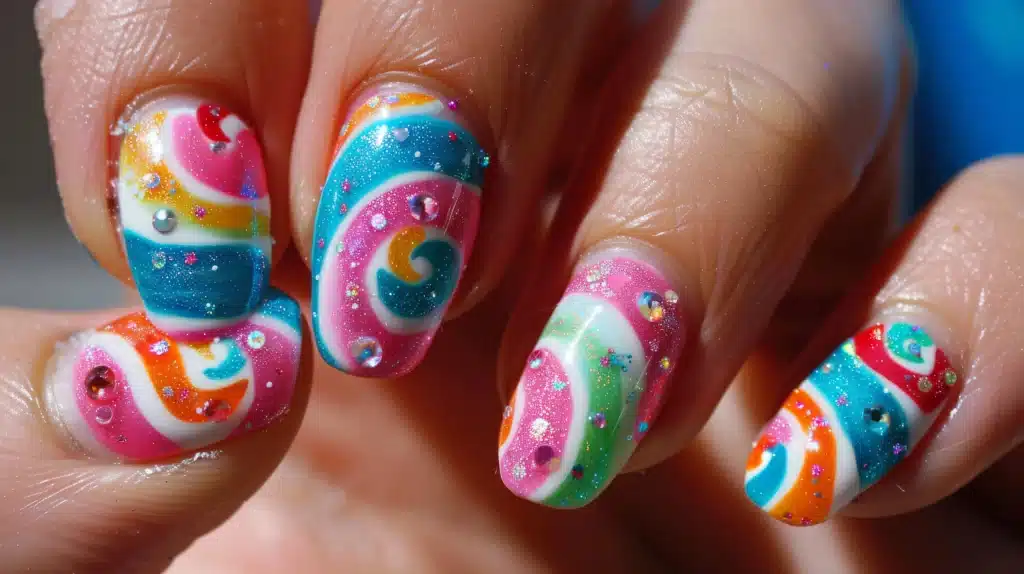
- Rainbow Ombré: Full spectrum gradient across all nails
- Animal Print: Leopard, zebra, or snake patterns
- Color Blocking: Contrasting color sections
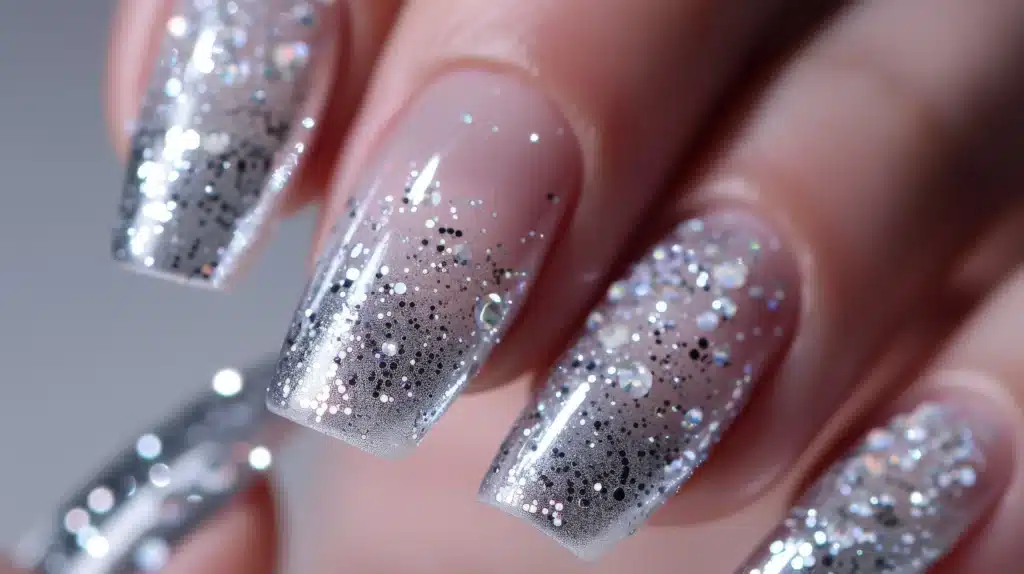
- Glitter Explosion: Full coverage glitter in bold colors
Seasonal & Thematic
- Winter Wonderland: Snowflakes, ice blue, and silver accents
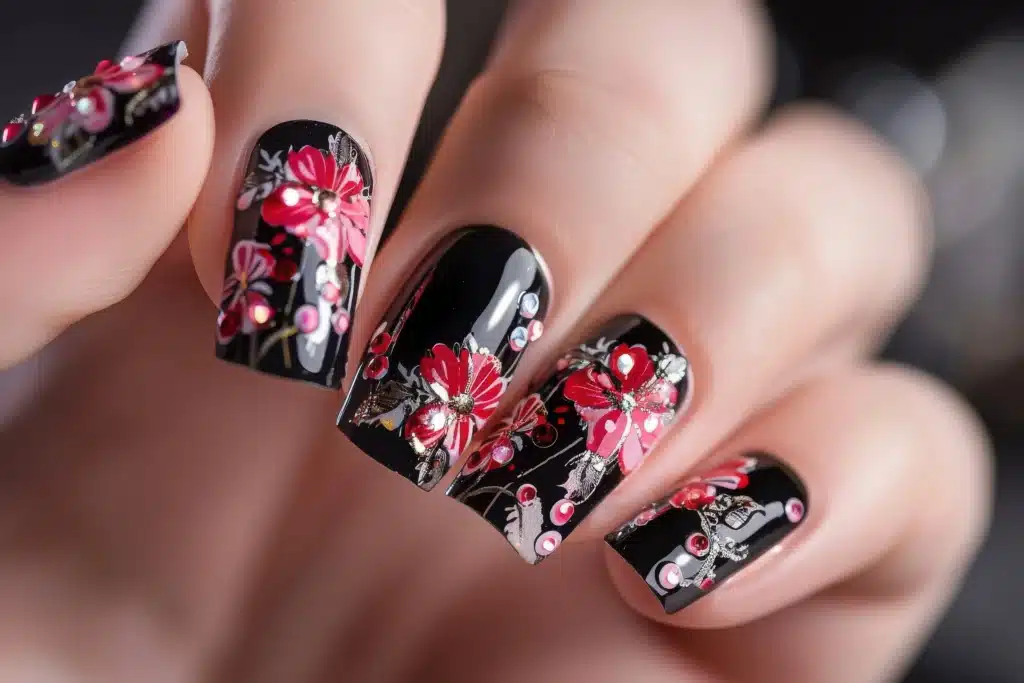
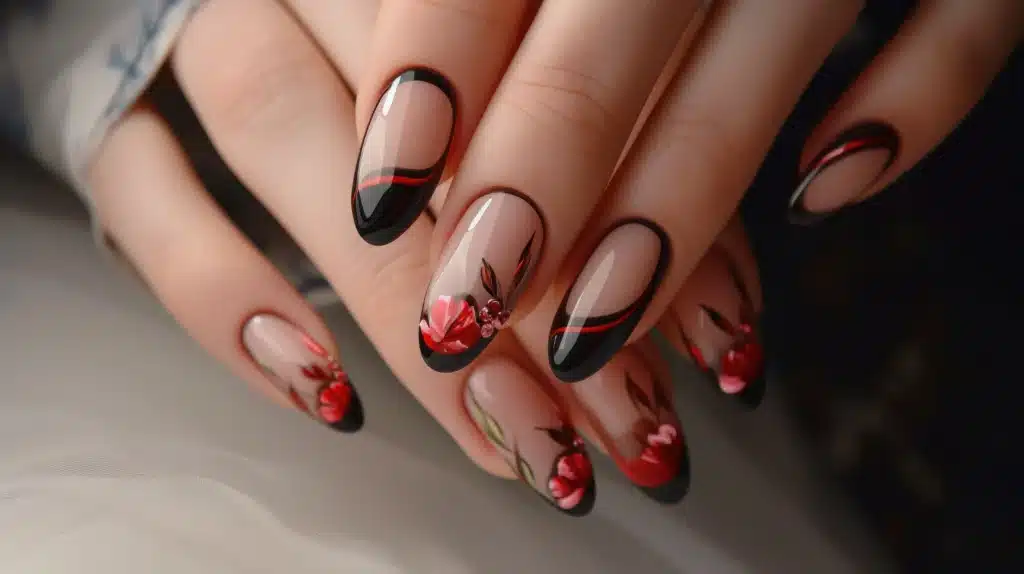
- Floral Spring: Delicate flowers on pastel backgrounds
- Summer Vibes: Palm trees, sunsets, and tropical colors
- Autumn Leaves: Warm tones with leaf designs
- Holiday Sparkle: Red, green, and gold with festive motifs
Textured & 3D
- Acrylic Extensions: Sculpted 3D flowers or bows
- Rhinestone Encrusted: Full coverage with various sized stones
- Caviar Beads: Tiny beads creating textured surfaces
- Chain Links: Actual miniature chain elements
- Mirror Finish: Chrome powder creating reflective surface
Modern & Trendy
- Negative Space: Strategic cutouts showing natural nail
- Abstract Art: Painterly, artistic designs
- Marble Effect: Veined patterns mimicking stone
- Holographic: Rainbow-reflective finishes
- Matte & Glossy Combo: Contrasting textures on same nail
Professional & Office-Appropriate
- Sheer Pink: Elegant and understated
- Single Accent Nail: One nail with subtle design
- Micro-French: Tiny, delicate French tips
- Soft Metallic: Rose gold or subtle silver
- Textured Neutral: Matte finish in neutral tones
Bridal & Special Occasion
- Lace Details: Delicate lace patterns
- Crystal Accents: Subtle sparkle with clear crystals
- Vintage Pearl: Classic pearl embellishments
- Soft Ombré: White to blush pink gradient
- Metallic Filigree: Delicate gold or silver designs
Edgy & Alternative
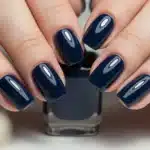
- Black Chrome: High-shine black finish
- Spiked Studs: Pyramid-shaped embellishments
- Graphic Black & White: Bold contrasting patterns
- Neon French: Bright tips on neutral base
- Distressed Metal: Metallic with intentional “worn” areas
Nature-Inspired
- Butterfly Garden: Delicate butterfly motifs
- Ocean Waves: Blue gradients with wave patterns
- Forest Floor: Earth tones with leaf details
- Galaxy: Deep space with stars and nebulae
- Sunset Sky: Warm gradients with cloud details
Artistic & Unique
- Watercolor Effect: Soft, blended colors
- Comic Book: Pop art style designs
- Stained Glass: Black lines with colored sections
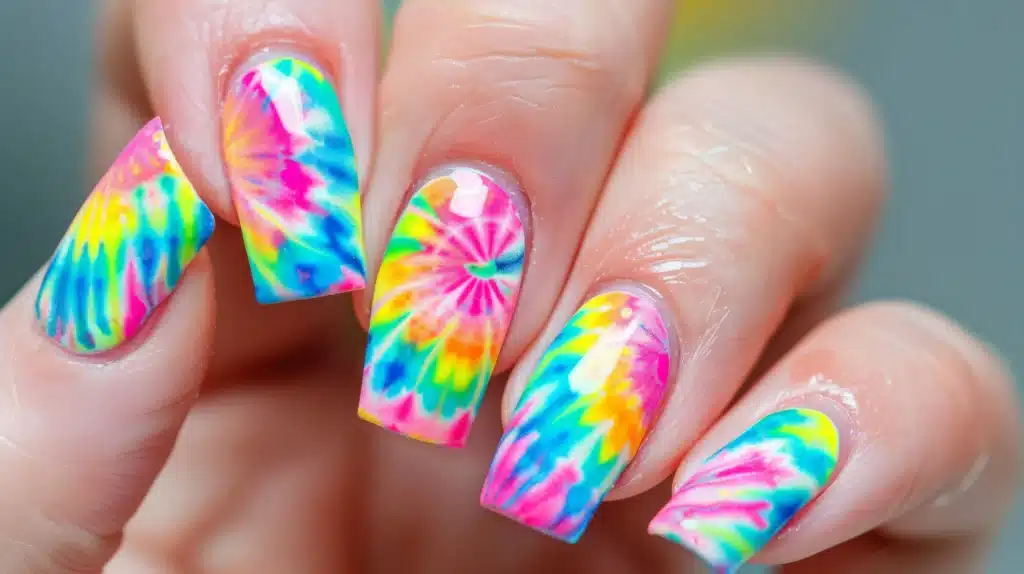
- Tie-Dye: Swirled, psychedelic patterns
- Foil Art: Metallic foil in artistic arrangements

Pros and Cons of Acrylic Coffin Nails
Before committing to acrylic coffin nails, consider these advantages and disadvantages:
Advantages
- Durability: Withstands daily activities better than natural nails
- Length & Shape Control: Achieve lengths impossible with natural nails
- Damage Repair: Can fix breaks or chips without complete removal
- Design Versatility: Unlimited artistic possibilities
- Cost-Effective: Generally less expensive than gel extensions
- Strength: Adds reinforcement to weak or damaged natural nails
- Longevity: Properly applied acrylics last 2-3 weeks
- Immediate Results: No waiting for natural nails to grow
- Customization: Precise control over shape, length, and thickness
- All-Season Wear: Performs well in various climates and conditions

Disadvantages
- Application Time: Initial application takes 1.5-2+ hours
- Maintenance Required: Regular fills needed every 2-3 weeks
- Potential Damage: Improper application or removal can weaken natural nails
- Chemical Exposure: Monomers have strong odors and require ventilation
- Thickness: Can feel bulky compared to natural nails
- Allergic Reactions: Some people react to acrylic chemicals
- Lifting Risk: Moisture or improper prep can cause lifting
- Professional Removal Recommended: Difficult to remove without damage
- Cost Accumulation: Ongoing expense for maintenance
- Natural Nail Growth: Visible regrowth requires regular fills
Essential Care & Maintenance for Acrylic Coffin Nails
Proper care extends the life of your acrylic coffin nails and maintains their appearance:
Daily Maintenance
- Avoid Using Nails as Tools: Don’t open cans or scrape surfaces
- Wear Gloves: Protect nails during cleaning or dishwashing
- Apply Cuticle Oil Daily: Hydrates cuticles and prevents lifting
- Avoid Harsh Chemicals: Minimize exposure to acetone or strong solvents
- Handle with Care: Be mindful when closing doors or handling objects
Weekly Care
- Clean Under Nails: Gently clean debris with a soft brush
- Inspect for Lifting: Check edges and address any lifting immediately
- Reapply Top Coat: Refresh shine and protection every 7-10 days
- Moisturize Hands: Use quality hand cream to prevent dryness
- Avoid Water Soaking: Prolonged water exposure can weaken acrylic

Problem Prevention
- Lifting: Keep nails dry, avoid picking, and address lifting promptly
- Breakage: Avoid excessive force and get repairs quickly
- Discoloration: Use non-staining polishes and top coats
- Infection: Keep nails clean and dry; see a professional for any signs of infection
Professional Maintenance Schedule
- Fills: Every 2-3 weeks to address regrowth
- Rebalancing: Every 4-6 weeks to maintain proper structure
- Full Set Replacement: Every 3-4 months to prevent excessive thickness
Safe Removal of Acrylic Coffin Nails
When it’s time to remove your acrylic coffin nails, proper technique prevents damage to natural nails:
Professional Removal (Recommended)
- Filing: Technician files down the surface to break the seal
- Acetone Soak: Nails are wrapped in acetone-soaked cotton and foil
- Waiting Period: 15-20 minutes for acrylic to soften
- Gentle Removal: Acrylic is carefully scraped away
- Natural Nail Care: Buffing, oil application, and conditioning
At-Home Removal (With Caution)
Tools Needed:
- 100% acetone
- Cotton balls
- Aluminum foil
- Nail file or buffer
- Cuticle pusher or orangewood stick
- Cuticle oil and hand cream
Step-by-Step Process:
- File Surface: Gently file the shiny top coat off each nail
- Protect Skin: Apply petroleum jelly around cuticles and skin
- Soak Cotton: Saturate cotton balls with acetone
- Wrap Nails: Place acetone-soaked cotton on each nail and wrap tightly with foil
- Wait: Allow nails to soak for 20-30 minutes
- Check Softening: Unwrap one nail to test if acrylic is soft enough
- Gently Remove: Use cuticle pusher to gently scrape away softened acrylic
- Repeat if Needed: For stubborn acrylic, rewrap and soak another 10 minutes
- Buff & Smooth: Lightly buff natural nails to remove residue
- Moisturize: Apply cuticle oil and hand cream generously
Critical Warning: Never force or pry off acrylic nails – this will cause severe damage to natural nails.
Troubleshooting Common Acrylic Coffin Nail Issues
Even with proper care, issues can arise. Here’s how to address them:
Lifting
- Cause: Moisture trapped under acrylic, improper prep, or impact
- Solution: Clean the area, apply a small amount of acrylic, or see your technician
Breakage
- Cause: Excessive force or structural weakness
- Solution: Professional repair with acrylic or a tea bag patch
Discoloration
- Cause: Smoking, certain medications, or chemical reactions
- Solution: Professional buffing or color correction
Thickening Over Time
- Cause: Multiple fills without rebalancing
- Solution: Professional rebalancing or full set replacement
Allergic Reactions
- Cause: Sensitivity to acrylic chemicals
- Solution: Immediate removal and switching to hypoallergenic alternatives
Fungal Growth
- Cause: Moisture trapped under lifting acrylic
- Solution: Professional removal, medical treatment, and waiting until healed before reapplying
Health & Safety Considerations
While acrylic coffin nails are generally safe when properly applied and maintained, keep these health considerations in mind:
During Application
- Ventilation: Ensure proper airflow to avoid inhaling fumes
- Skin Protection: Prevent contact with uncured acrylic
- Allergy Testing: Patch test if you have sensitive skin or history of reactions
During Wear
- Monitor for Changes: Watch for redness, swelling, or pain around nails
- Address Lifting Promptly: Prevent moisture from getting trapped
- Avoid Biting or Picking: This can damage natural nails and introduce bacteria
During Removal
- Never Force Removal: This causes significant damage to natural nails
- Moisturize After Removal: Natural nails will be temporarily fragile
- Allow Recovery Time: Give natural nails a break between enhancements
Acrylic Coffin Nails vs. Other Enhancement Options
How do acrylic coffin nails compare to other popular nail enhancements?
Acrylic vs. Gel
- Durability: Acrylic generally more durable; gel more flexible
- Application: Acrylic air-dries; gel requires UV/LED light
- Removal: Acrylic requires acetone soak; gel requires filing and soaking
- Appearance: Gel typically has higher shine; acrylic offers more strength
Acrylic vs. Dip Powder
- Application: Acrylic uses liquid monomer; dip uses adhesive and powder
- Durability: Similar longevity, but acrylic generally stronger
- Thickness: Dip tends to be thinner than acrylic
- Chemical Exposure: Dip has less strong odor than acrylic
Acrylic vs. Polygel
- Application: Acrylic air-dries quickly; polygel requires UV curing
- Flexibility: Polygel more flexible than traditional acrylic
- Weight: Polygel lighter than acrylic
- Learning Curve: Polygel often considered easier for beginners
Cost Considerations for Acrylic Coffin Nails
Understanding the financial commitment helps with planning:
Initial Application
- Basic Set: $35-$60
- Mid-Range with Art: $60-$100
- High-End Custom Design: $100-$200+
Maintenance Costs
- Standard Fill: $25-$45 every 2-3 weeks
- Fill with Art: $35-$60+
- Repair per Nail: $5-$10
DIY vs. Professional
- Initial DIY Kit: $50-$100 for quality products
- Ongoing DIY Costs: $20-$40 per month for supplies
- Professional Total Monthly: $50-$120+ depending on design complexity
The Future of Acrylic Coffin Nails: Trends & Innovations
The nail industry continues evolving, with exciting developments for acrylic coffin nails:
Emerging Techniques
- Eco-Friendly Acrylics: Lower-odor, HEMA-free formulas
- Strengthened Formulas: Acrylics with added flexibility
- Quick-Cure Options: Faster-setting polymers
- Color-Changing Acrylics: Temperature or light-responsive pigments
Design Trends
- Sustainable Embellishments: Biodegradable glitters and decorations
- Minimalist Maximalism: Simple base with one dramatic accent nail
- Textured Neutrals: Matte finishes with subtle texture
- Mixed Media: Combining acrylic with gel polish effects
Technology Integration
- Virtual Try-On: Apps showing coffin nail designs on your hands
- Custom Color Matching: Digital color analysis for perfect polish matches
- 3D Printed Embellishments: Precise, lightweight decorative elements
Frequently Asked Questions About Acrylic Coffin Nails
Q1: Are acrylic coffin nails damaging to natural nails?
A: When properly applied and removed by professionals, damage is minimal. However, improper application, removal, or picking can cause significant damage. Giving natural nails breaks between enhancements helps maintain health.
Q2: How long do acrylic coffin nails typically last?
A: With proper care, acrylic coffin nails last 2-3 weeks before requiring fills. The actual lifespan depends on your natural nail growth rate, daily activities, and how well you maintain them.
Q3: Can I get acrylic coffin nails if I have short natural nails?
A: Absolutely! Acrylics can extend even very short natural nails. Your technician will use either tips or forms to create the coffin shape at your desired length.
Q4: Are there any activities I should avoid with acrylic coffin nails?
A: Avoid using nails as tools, prolonged water exposure, harsh chemicals, and activities that put excessive pressure on the tips. Wearing gloves during cleaning or dishwashing is highly recommended.
Q5: How do I know if I’m allergic to acrylic?
A: Allergic reactions typically appear as redness, itching, swelling, or blisters around the nail area. If you suspect an allergy, remove the acrylics immediately and consult a dermatologist. Consider hypoallergenic alternatives for future enhancements.
Q6: Can I remove acrylic coffin nails at home?
A: While possible, professional removal is strongly recommended to prevent damage. If removing at home, follow proper acetone soak procedures and never force or pry off the acrylic.
Q7: Why do my acrylic coffin nails keep lifting?
A: Lifting is usually caused by moisture trapped under the acrylic, improper nail preparation before application, or impact to the nails. Ensure nails are completely dry before application, and address any lifting immediately to prevent water from getting trapped.
Q8: How often should I take breaks from acrylic coffin nails?
A: Giving natural nails a break for 1-2 weeks every 3-4 months allows them to recover and maintain health. During breaks, moisturize cuticles and nails regularly.
Q9: Can I change the color of my acrylic coffin nails?
A: Yes! You can apply regular nail polish over acrylics and remove it with non-acetone polish remover. For significant color changes or design updates, your technician can file down the existing color and apply new acrylic.
Q10: Are acrylic coffin nails appropriate for professional environments?
A: Absolutely! While bold designs might not suit conservative workplaces, many elegant and subtle acrylic coffin nail designs are perfectly appropriate. Nude tones, classic French tips, or simple accent nails can maintain professionalism while still showcasing the coffin shape.

Conclusion: Embracing the Acrylic Coffin Nail Trend
Acrylic coffin nails represent the perfect intersection of durability, versatility, and style. Their distinctive silhouette provides an ideal canvas for creative expression while offering practical benefits like strength and length control. Whether you prefer subtle elegance or bold artistic statements, coffin-shaped acrylics can accommodate your vision.
As with any beauty enhancement, the key to success lies in proper application, diligent maintenance, and safe removal. By choosing a qualified technician, following care guidelines, and giving your natural nails periodic breaks, you can enjoy stunning acrylic coffin nails without compromising nail health.
The world of nail art continues to evolve, but the enduring popularity of acrylic coffin nails proves their status as a classic choice with contemporary appeal. Armed with the knowledge from this comprehensive guide, you’re ready to explore, experiment with, and enjoy the endless possibilities of acrylic coffin nails.

Sarah Williams is an experienced blogger and fashion enthusiast at Glammer Galaxy. With a passion for beauty and style, she shares expert insights on hair trends, nail art, and fashion tips. Her creative flair and years of experience make her a go-to source for all things glam!