Introduction
Garden fairy nails are the latest trend in nail art, blending ethereal beauty with nature-inspired designs. This enchanting style features delicate florals, pastel hues, glittery accents, and mystical elements that make your nails appear to belong to a woodland fairy. Whether you’re a nail art enthusiast or just looking for a magical manicure, garden fairy nails are perfect for adding a touch of fantasy to your look.
In this article, we’ll explore:
✔ What are garden fairy nails?
✔ Popular garden fairy nail designs
✔ Step-by-step guide to achieving the look
✔ Best colors and products for garden fairy nails
✔ Tips for long-lasting fairy nails
What Are Garden Fairy Nails?
Forest fairy nails and Garden fairy nails are a whimsical nail art trend inspired by fairy tales, enchanted forests, and blooming gardens. These designs often include:
- Soft pastel shades (lavender, mint, blush pink)
- Floral patterns and vine accents
- Glitter, holographic effects, and iridescent finishes
- 3D elements like tiny gems, pearls, and metallic details
- Ethereal touches like ombré, marble, and stained glass effects

This trend is perfect for spring and summer but can be adapted for any season with deeper tones or festive sparkles.
Popular Garden Fairy Nail Designs
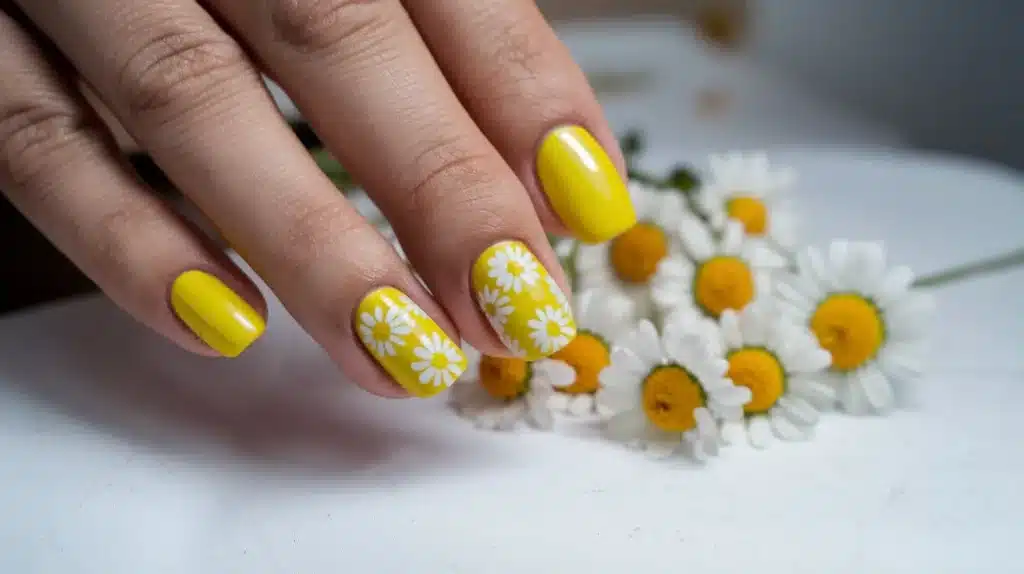
1. Floral Fairy Nails
- Soft pink or lilac base with hand-painted flowers
- Delicate green vines and leaves for a garden-inspired look

2. Glittery Fairy Dust Nails
- Sheer nude or pastel base with scattered glitter
- Chrome powder or holographic flakes for a magical shimmer
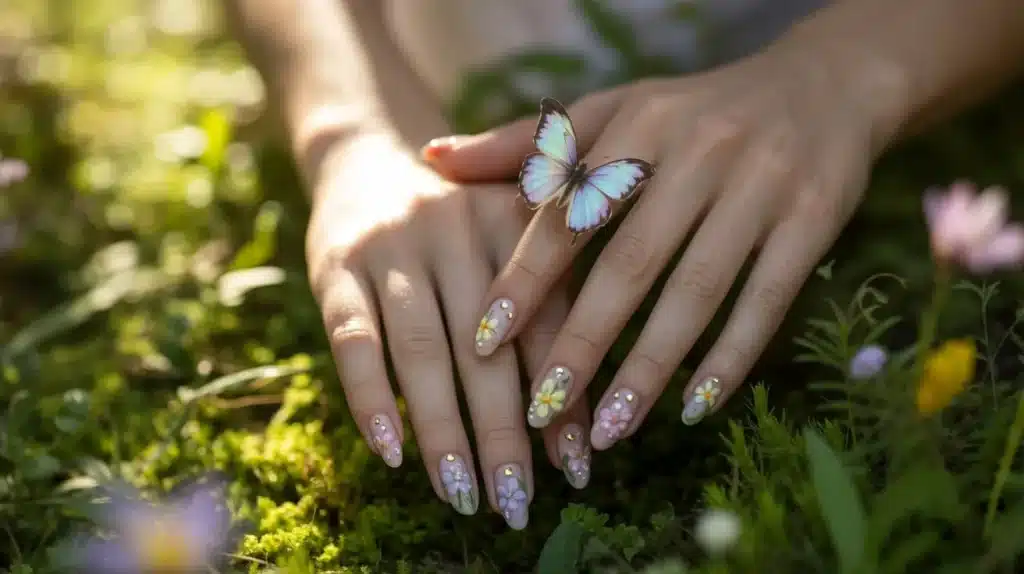
3. 3D Enchanted Garden Nails
- Press-on florals, tiny butterflies, or gemstone accents
- Matte and glossy combo for contrast

4. Ethereal Ombré Fairy Nails
- Gradient nails in soft blues, purples, and pinks
- Pearl or iridescent top coat for a dreamy effect
5. Dark Fairy Garden Nails (Moody Version)
- Deep greens, blacks, and burgundies with gold accents
- Gothic florals and mystical moon designs
How to Create Garden Fairy Nails (Step-by-Step Guide)
Step 1: Prep Your Nails
- File and shape nails (almond or oval works best)
- Push back cuticles and apply a base coat
Step 2: Choose Your Base Color
- Opt for soft pastels or sheer nudes for a fairy-like look
Step 3: Add Floral & Nature Details
- Use a thin brush or nail art pen to paint tiny flowers and vines
- Alternatively, apply nail stickers for an easier option
Step 4: Incorporate Sparkle & Dimension
- Apply glitter polish or chrome powder
- Add tiny rhinestones or pearls with nail glue

Step 5: Seal with a Top Coat
- Use a high-gloss top coat for shine or a matte finish for contrast

Best Colors & Products for Garden Fairy Nails
- Pastel Polishes: Essie “Mademoiselle,” OPI “Bubble Bath”
- Glitter Toppers: Holo Taco “Solar Unicorn Skin”
- Nail Gems & Stickers: Amazon or Born Pretty Store
- Top Coats: Seche Vite (glossy) or OPI Matte Top Coat

Tips for Long-Lasting Fairy Nails
💎 Apply cuticle oil daily to keep nails hydrated
💎 Wear gloves when doing chores to prevent chipping
💎 Touch up with a clear top coat every few days

Final Thoughts
Garden fairy nails are a dreamy and versatile trend that lets you express your love for nature and fantasy. Whether you prefer soft pastels, glittery sparkles, or 3D embellishments, this style is perfect for any occasion.

Try out these designs and let your nails transport you to an enchanted garden!
Would you try garden fairy nails? Share your favorite design in the comments! 🌸✨

Sarah Williams is an experienced blogger and fashion enthusiast at Glammer Galaxy. With a passion for beauty and style, she shares expert insights on hair trends, nail art, and fashion tips. Her creative flair and years of experience make her a go-to source for all things glam!