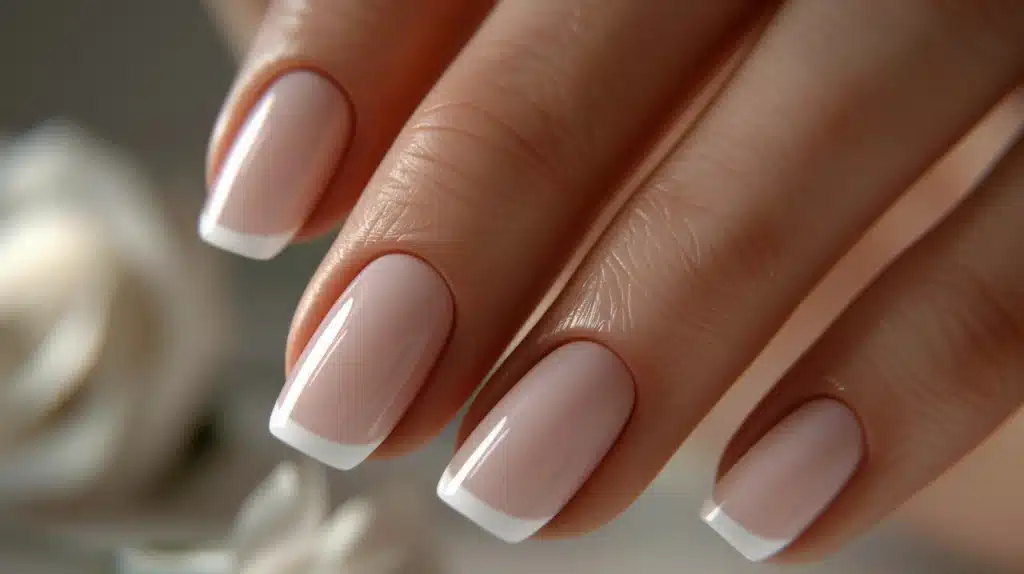
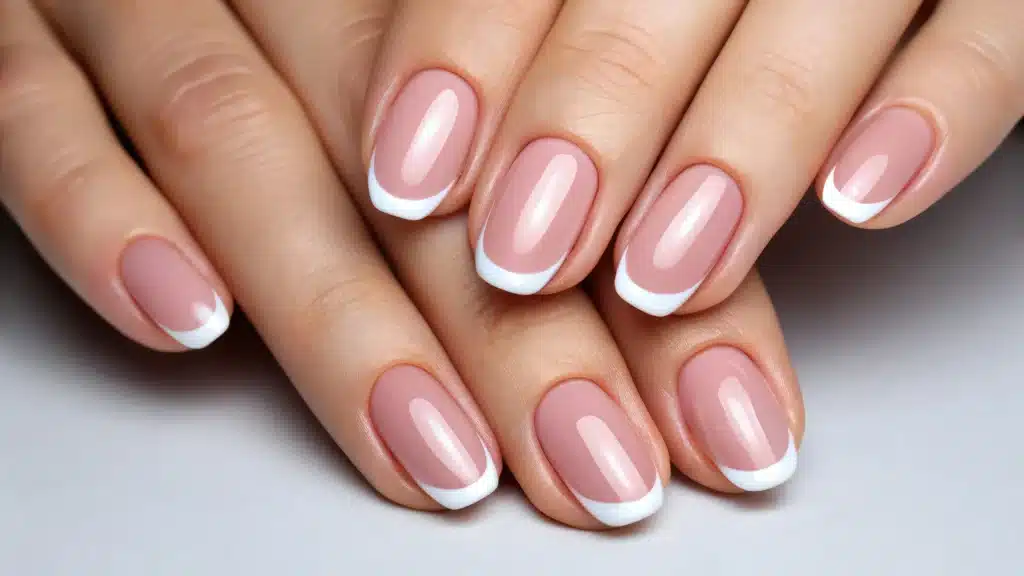
In the ever-evolving landscape of nail trends, few styles possess the enduring allure and adaptability of the French manicure. Born in the 1970s and popularized by Hollywood icons, this minimalist design featuring a natural base with crisp white tips has transcended decades, defied fleeting fads, and cemented its place as the epitome of sophisticated nail art. Yet, to dismiss the French manicure as merely “classic” is to underestimate its remarkable evolution. Today’s French manicure nails are a canvas for creativity – a foundation upon which countless modern variations thrive, from subtle colored tips to bold geometric patterns and avant-garde textures.
This definitive guide delves deep into the world of French manicure nails. Whether you’re a nail art novice seeking the perfect beginner-friendly style, a seasoned enthusiast looking to master advanced techniques, or a professional technician aiming to expand your repertoire, you’ll discover everything needed to achieve, maintain, and innovate this iconic look. We’ll explore its fascinating history, dissect its anatomy, provide step-by-step application guides (both salon and DIY), showcase stunning modern interpretations, troubleshoot common issues, and reveal the secrets to long-lasting, chip-free perfection. Prepare to fall in love with the French manicure all over again – or for the very first time.
The Timeless Journey: A Brief History of the French Manicure
Understanding the French manicure’s origins adds depth to its appreciation and highlights why it remains relevant today.
The Birth of an Icon (1970s)
Contrary to popular belief, the French manicure wasn’t born in France. Its creation is credited to Jeff Pink, founder of the nail polish brand Orly, in the mid-1970s. Hollywood directors sought a nail look that would complement actresses’ rapidly changing wardrobe changes during filming. Pink developed a simple, elegant style featuring a natural pink base and clean white tip that transcended costume changes. He initially named it the “Natural Look Nail.”
The Parisian Rebrand (Late 1970s)
When Pink brought the style to Parisian fashion shows, it was met with enthusiasm. French fashion editors and models embraced it, dubbing it the “French Manicure.” The name stuck, forever linking this clean, sophisticated aesthetic with Parisian chic. Its popularity soared when it was worn by iconic figures like Barbra Streisand in the film “A Star is Born” (1976).
The Golden Age (1980s-1990s)
The 80s and 90s cemented the French manicure’s status as a cultural phenomenon. It became synonymous with:
- Professionalism: The go-to choice for corporate environments.
- Bridal Elegance: The quintessential wedding day nail.
- Everyday Luxury: An affordable touch of sophistication for the masses.
- Celebrity Endorsement: Worn by everyone from Princess Diana to Madonna.
The Modern Renaissance (2000s-Present)
While its popularity waned slightly during the rise of bold nail art in the 2000s, the French manicure experienced a powerful resurgence in the 2010s and 2020s. This revival wasn’t just about nostalgia; it was about reinvention. Nail artists and enthusiasts began experimenting with the core concept, leading to the explosion of modern French manicure variations we see today – proving that even the most classic look can be endlessly reimagined.
Anatomy of a Perfect French Manicure: Breaking Down the Elements
To achieve or appreciate a flawless French manicure, understanding its core components is essential.
1. The Base
- Purpose: Creates a clean, healthy-looking canvas for the tips.
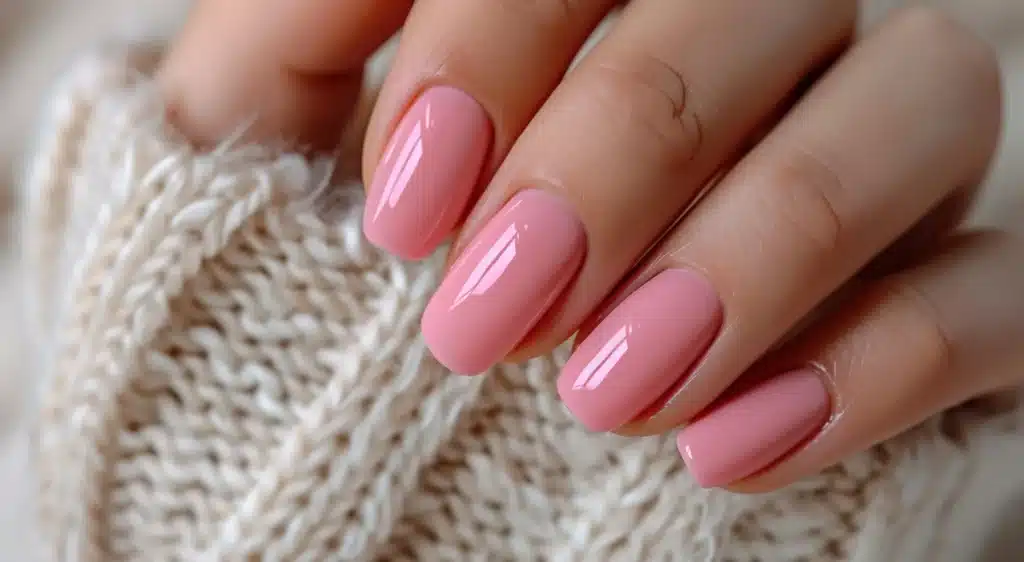
- Traditional Color: Sheer pink, beige, or nude polish that mimics the natural nail bed.
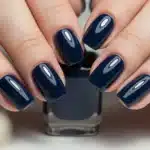
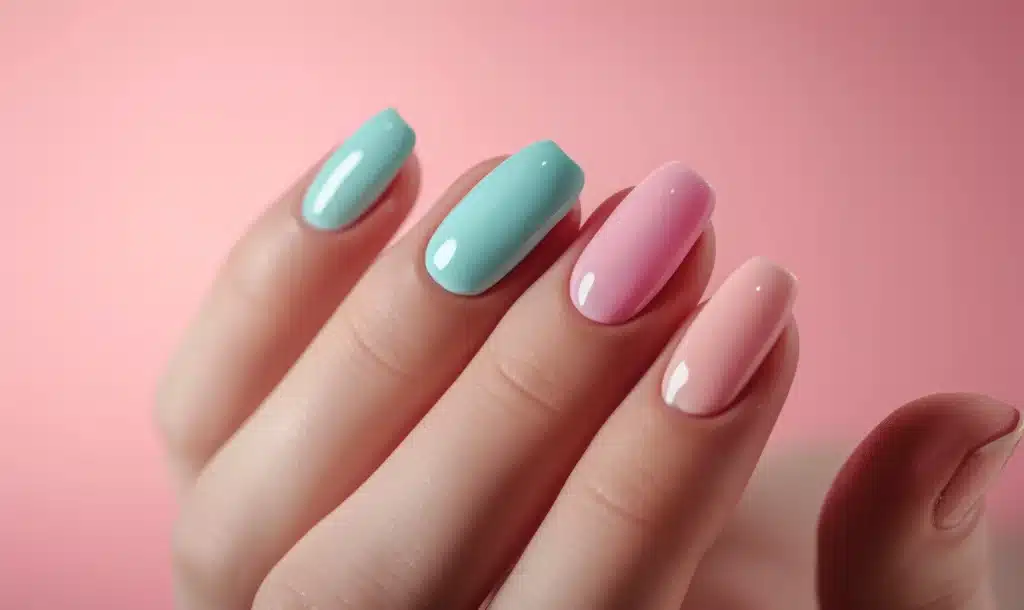
- Modern Variations: Clear base, milky white, subtle ombré, or even a sheer tint of color (e.g., baby blue, lavender).
- Application: Usually 1-2 thin coats for even coverage without opacity.
2. The Tip
- Purpose: Defines the “French” element, creating contrast and drawing attention to the nail’s free edge.
- Traditional Color: Crisp, opaque white. Classic whites include pure white, off-white, or ivory.
- Modern Variations: Endless possibilities! Colored tips (neon, pastel, metallic), glitter, black, metallic foil, patterns (stripes, florals), or even negative space.
- Application: Precision is key. The tip line should be clean, even, and follow the natural smile line (the curve where the white of your natural nail meets the pink).
3. The Smile Line
- Definition: The curved line where the base color meets the tip color. It’s the signature element of a French manicure.
- Traditional Shape: Follows the natural curve of the nail’s free edge.
- Modern Variations: Straight across (for a more severe look), exaggerated curve, V-shape, diagonal, or asymmetrical.
- Importance: A smooth, symmetrical smile line is the hallmark of a professional French manicure.
4. The Top Coat
- Purpose: Seals the design, adds shine (or matte finish), and crucially, protects against chipping and wear.
- Traditional Choice: High-gloss top coat for maximum shine.
- Modern Variations: Matte top coat, quick-dry top coat, gel top coat (for longevity), or textured top coat (e.g., magnetic, chrome).
- Application: A generous, even coat covering the entire nail surface, sealing the free edge.
Classic French Manicure: Step-by-Step Salon Application
Achieving a perfect classic French manicure requires skill and precision. Here’s how professionals do it:
Tools & Products Needed
- Nail file (180/240 grit)
- Cuticle pusher and nipper
- Buffer block
- Nail prep (dehydrator, primer if needed)
- Base coat
- Sheer pink/nude polish (for the base)
- Opaque white polish (for the tips)
- French manicure guides/stickers (optional, but helpful for precision)
- Detail brush or striper brush (for perfecting the smile line)
- High-gloss top coat
- Cuticle oil
- Lint-free wipes
- Orange wood stick
Step 1: Nail Preparation (Crucial for Longevity)
- Remove Old Polish: Completely remove any existing polish.
- Shape & File: Shape nails to desired length and form (oval, squoval, round, almond work best for classic French). File in one direction.
- Soften Cuticles: Apply cuticle remover or soak in warm water for a few minutes.
- Push Back Cuticles: Gently push back the cuticle using an orange wood stick or cuticle pusher.
- Trim Excess Cuticle: Carefully trim any loose or overgrown cuticle tissue with a nipper.
- Buff Surface: Lightly buff the nail plate with a buffer block to remove shine and create a slightly textured surface for polish adhesion.
- Clean & Dehydrate: Thoroughly cleanse nails with rubbing alcohol or a dedicated nail prep dehydrator to remove oils and moisture. This is VITAL for preventing lifting.
Step 2: Base Application
- Apply Base Coat: Apply a thin, even layer of base coat to all nails. Base coat protects the natural nail and provides a smooth surface for color. Let it dry completely (usually 1-2 minutes).
Step 3: Base Color Application
- Apply Sheer Base: Apply 1-2 thin coats of your chosen sheer pink or nude polish. Allow each coat to dry before applying the next. The goal is a translucent, natural-looking enhancement, not full opacity. Avoid flooding the cuticle area.
Step 4: Creating the Perfect White Tip
This is the most critical step. Choose your method:
Method A: Using Guides/Stickers
- Place Guides: Once the base color is completely dry, carefully place French manicure guides/stickers just below the natural smile line on each nail. Press down firmly to ensure no polish bleeds underneath.
- Apply White Polish: Using the opaque white polish, carefully paint the exposed tip area above the guide. Apply in thin, even strokes, starting from the center and moving outwards. Cap the free edge.
- Remove Guides: Immediately after painting the tip, while the white polish is still wet, carefully peel off the guide. This prevents the guide from lifting the polish as it dries. Use tweezers for precision.
Method B: Freehand with Brush
- Load Brush: Dip a detail brush or striper brush into the white polish. Remove excess polish on the neck of the bottle.
- Draw the Smile Line: Starting at one side of the nail’s smile line, carefully draw a curved line following the natural curve. Connect it to the other side. Steady hands are key!
- Fill the Tip: Fill in the area above the smile line with white polish using the brush or the regular polish brush. Cap the free edge.
Method C: The “Upside Down” Technique
- Paint White First: Apply the white polish to the tips before the base color. Let it dry completely.
- Apply Base Color: Apply the sheer base color over the entire nail, including the dried white tip. The sheerness of the base will soften the white slightly, creating a more natural look. This technique is often easier for beginners.
Step 5: Perfecting the Smile Line
- Inspect & Clean Up: Examine each nail under good light. Use a clean detail brush dipped in acetone or polish remover to sharpen any uneven edges in the smile line or clean up any polish that strayed onto the skin or cuticle. A steady hand and a good brush are essential here.
Step 6: Sealing with Top Coat
- Apply Top Coat: Apply a generous, even layer of high-gloss top coat over the entire nail surface, making sure to “cap the free edge” by running the brush along the very tip of the nail. This is crucial for preventing chipping. Let it dry thoroughly.
Step 7: Final Touches
- Apply Cuticle Oil: Once the top coat is completely dry (wait at least 10-15 minutes), massage cuticle oil into the cuticles and surrounding skin. This hydrates and gives the manicure a finished, professional look.
- Final Wipe: Use a lint-free wipe to remove any residual oil from the nail surface if needed.
DIY French Manicure at Home: Mastering the Look Yourself
Achieving salon-quality French manicure nails at home is possible with patience, practice, and the right tools.
Essential DIY Kit
- Quality nail file & buffer
- Cuticle pusher & remover
- Base coat
- Sheer pink/nude polish
- Opaque white polish
- French manicure guides/stickers (highly recommended for beginners)
- Detail brush or striper brush
- Top coat (high-gloss or quick-dry)
- Acetone or polish remover
- Small dish or dappen dish
- Orange wood sticks
- Cotton swabs/pads
- Good lighting!
Step-by-Step DIY Guide
- Prep Like a Pro: Follow the salon prep steps meticulously (remove old polish, shape, push back cuticles, trim excess, buff lightly, cleanse/dehydrate). Don’t skip dehydrating!
- Base Coat: Apply a thin base coat. Let dry completely.
- Base Color: Apply 1-2 thin coats of sheer pink/nude. Let dry completely between coats.
- Apply Guides: Crucially, ensure the base color is 100% dry. Place guides just below the smile line. Press down firmly, especially at the edges.
- Paint Tips: Apply white polish carefully to the exposed tip. Use thin coats. Cap the free edge.
- Remove Guides: Peel off guides immediately while the white is still wet. Work one nail at a time if needed.
- Clean Up: Use a detail brush dipped in acetone to sharpen smile lines and clean up any mistakes. A cotton swab wrapped tightly around an orange wood stick dipped in remover works well for skin cleanup.
- Top Coat: Apply a generous top coat, capping the free edge. This is your best defense against chipping! Let dry thoroughly.
- Cuticle Oil: Finish with cuticle oil once the top coat is bone dry.

Pro DIY Tips
- Less is More: Use thin coats of polish. Thick layers chip easily and take forever to dry.
- Steady Hand: Rest your painting hand on a stable surface. Use your pinky as an anchor on the table.
- Patience is Key: Let each layer dry completely before moving to the next. Rushing leads to smudges and dents.
- Practice Makes Perfect: Don’t be discouraged if your first attempt isn’t flawless. Practice on a nail wheel or a friend.
- Good Lighting: Work in a well-lit area to see the smile line clearly.
- Quick Dry Drops: Use quick-dry drops or spray after the top coat is applied (not before) to speed up drying time without compromising shine or durability.
Beyond Classic White: Modern French Manicure Variations to Try
The true beauty of the French manicure lies in its adaptability. Here are stunning modern interpretations:
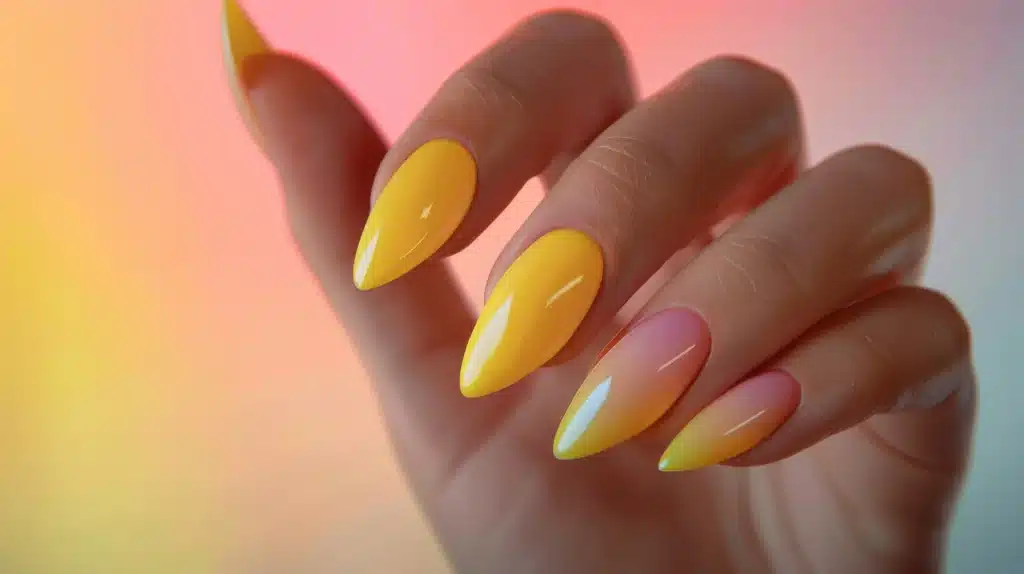
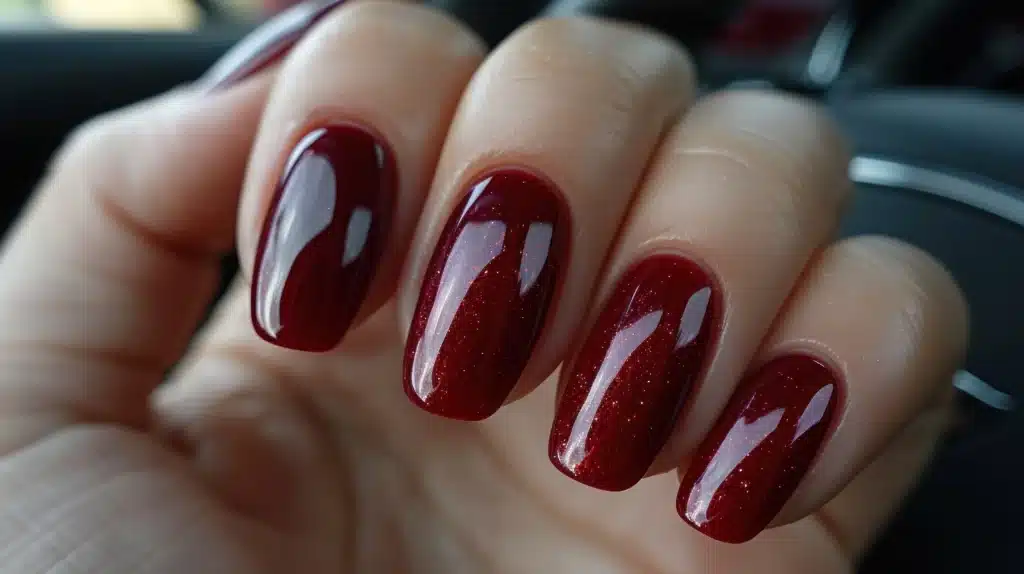
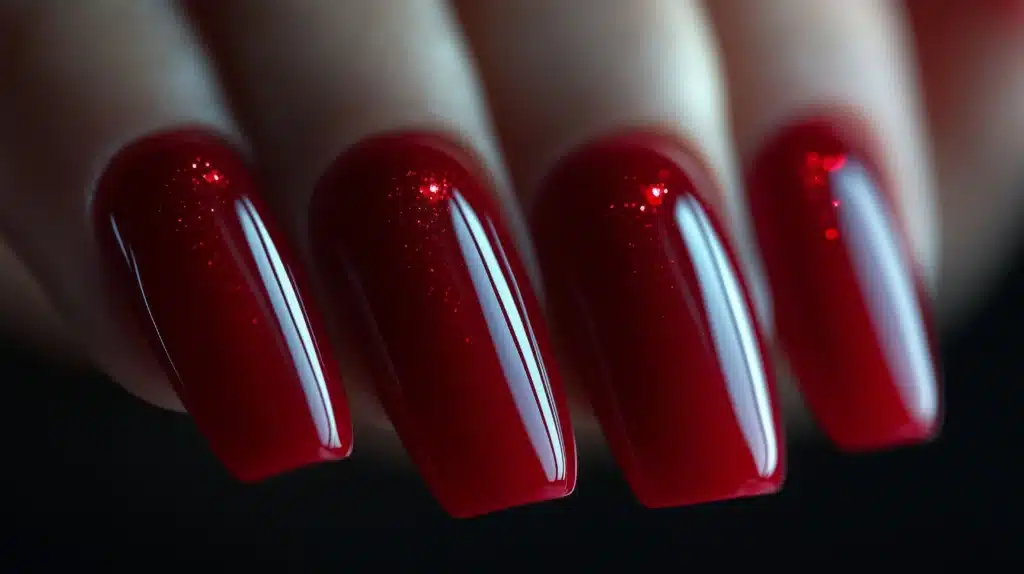
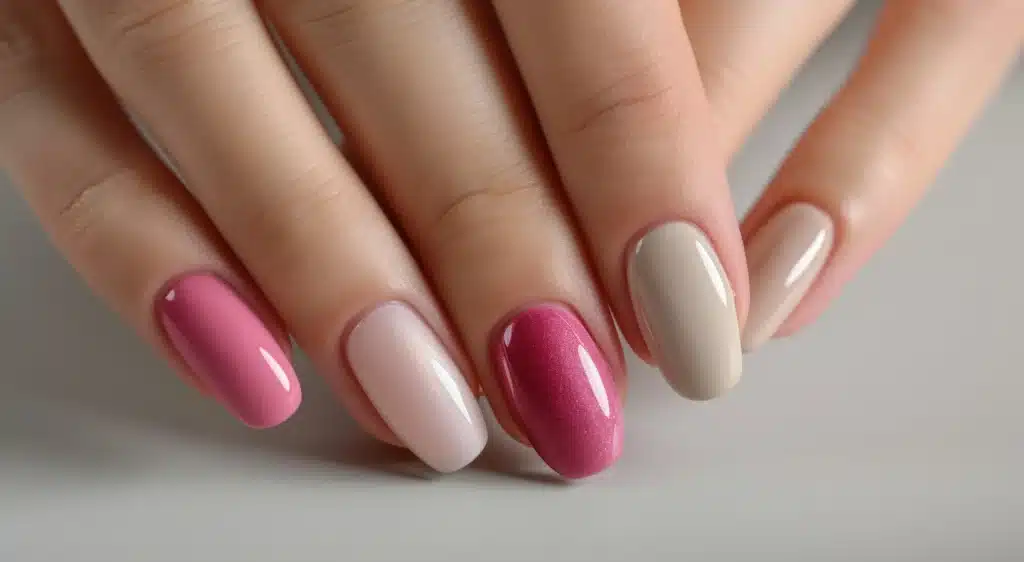
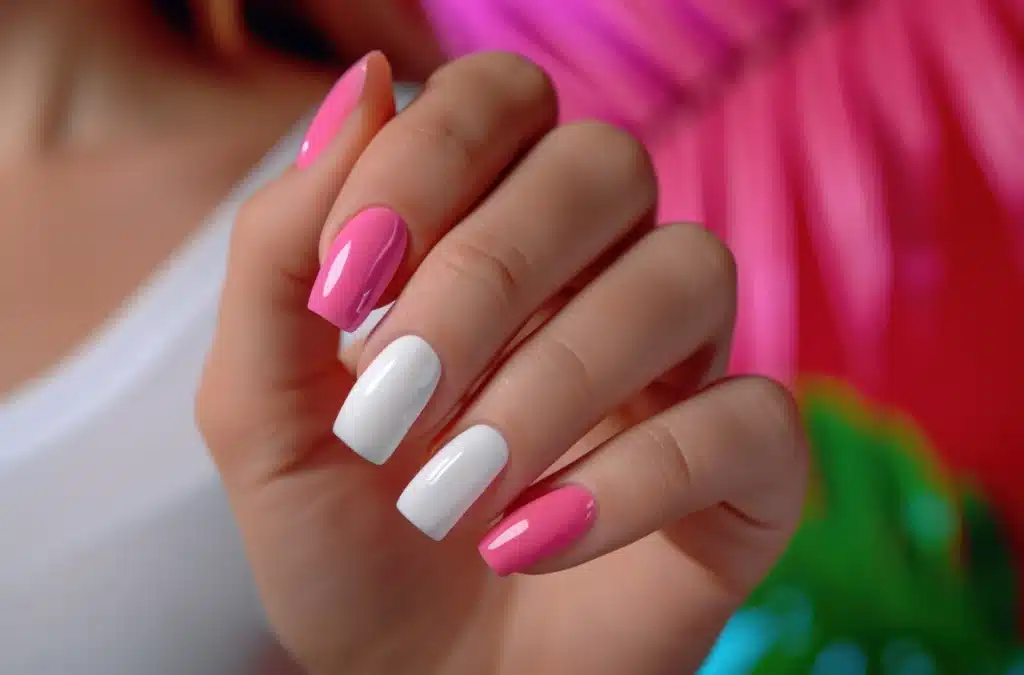
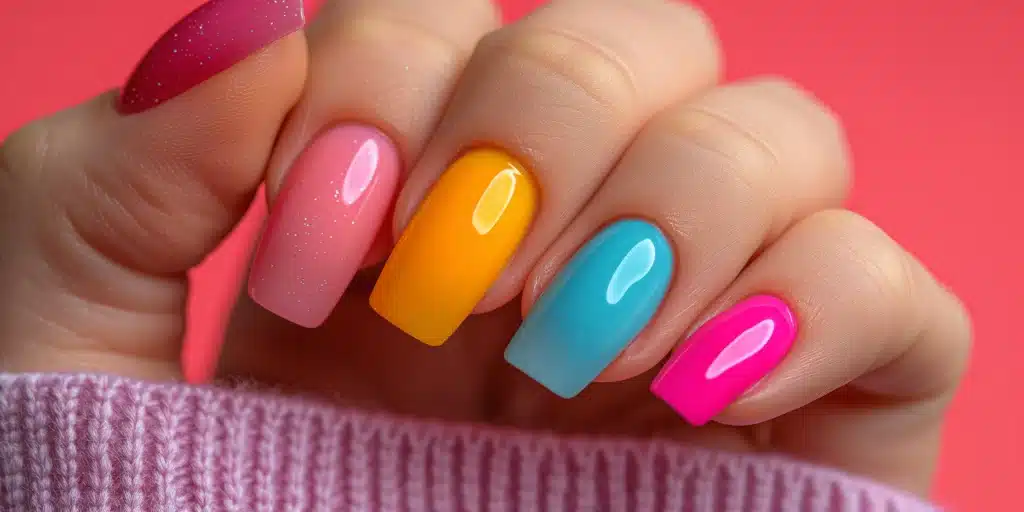
1. Colored Tip French
- Concept: Swap traditional white for any color imaginable.
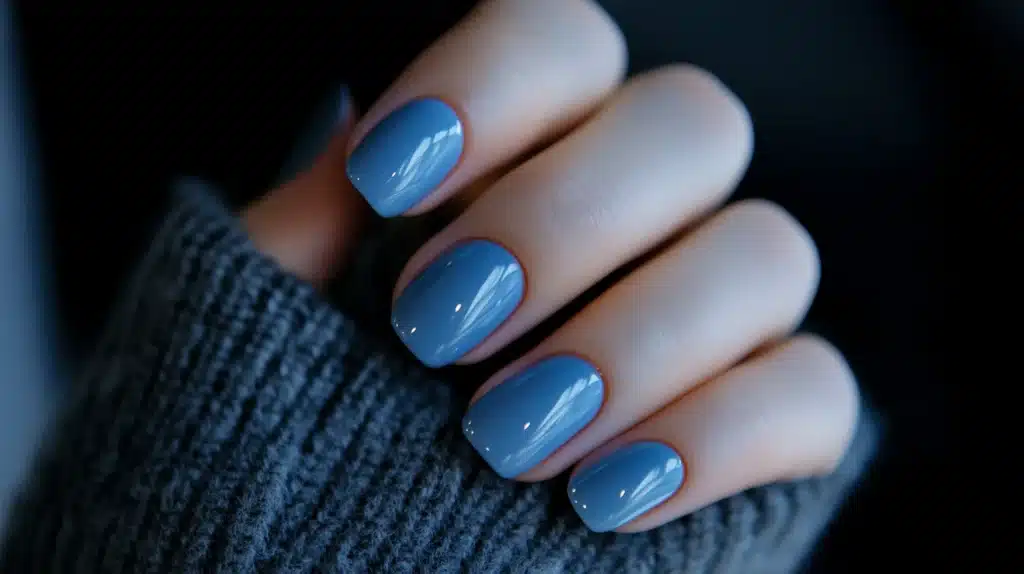
- Popular Choices: Neon pink, electric blue, emerald green, deep burgundy, metallic gold/silver, pastel shades (lavender, mint, baby blue).
- Why It Works: Adds personality while maintaining the elegant structure. Perfect for matching outfits or moods.
- Pro Tip: Pair a bright tip with a sheer, complementary base color for a cohesive look.
2. V-Line French (Diagonal/Angled French)
- Concept: Instead of a curved smile line, the tip color is applied diagonally, creating a “V” shape at the center of the nail.
- Effect: Visually elongates the nail and fingers, adds a modern, edgy twist.
- Variations: Single V, double V (chevron), asymmetrical V.
- Pro Tip: Use guides or tape for crisp lines. Works beautifully with contrasting colors.
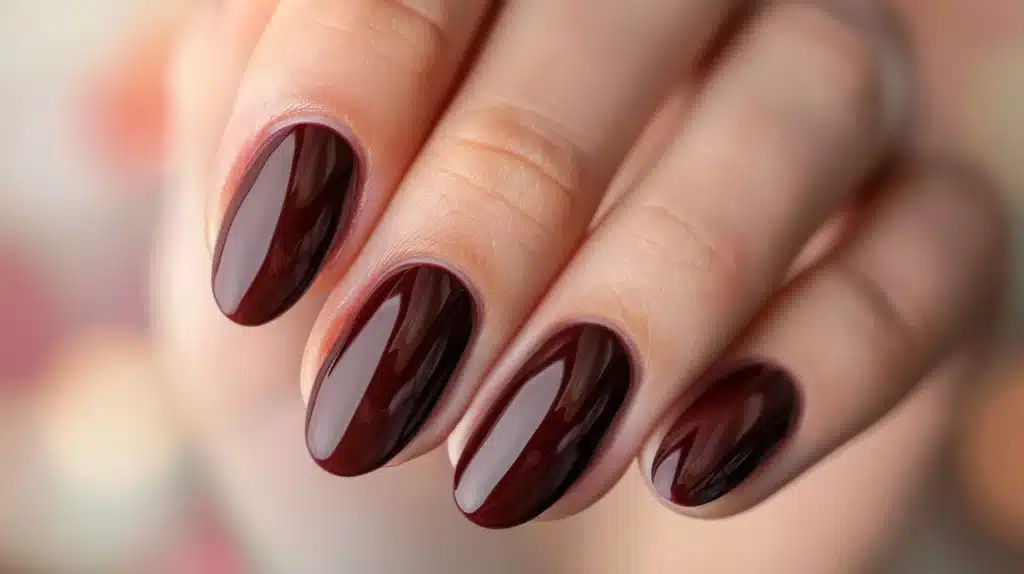
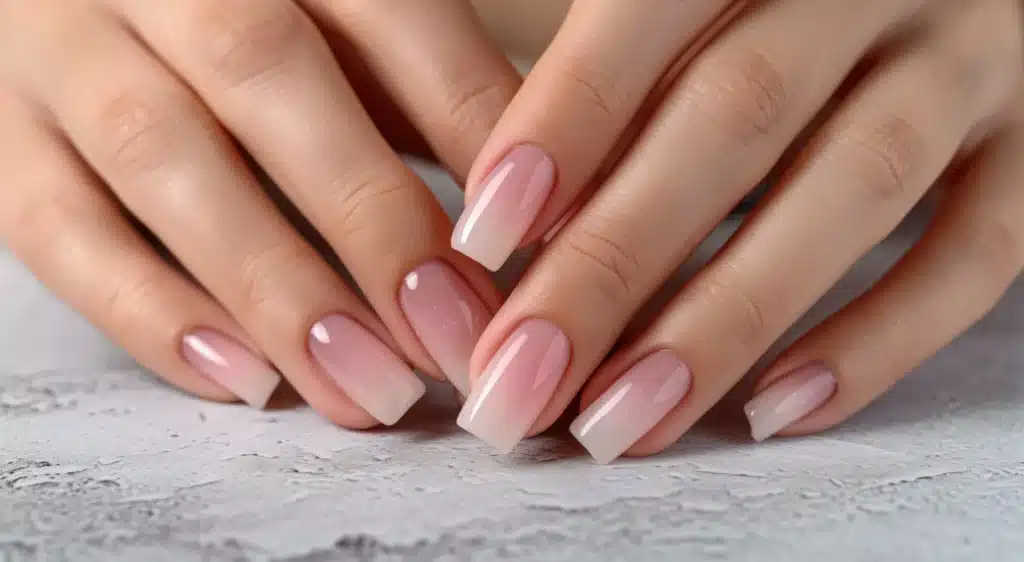
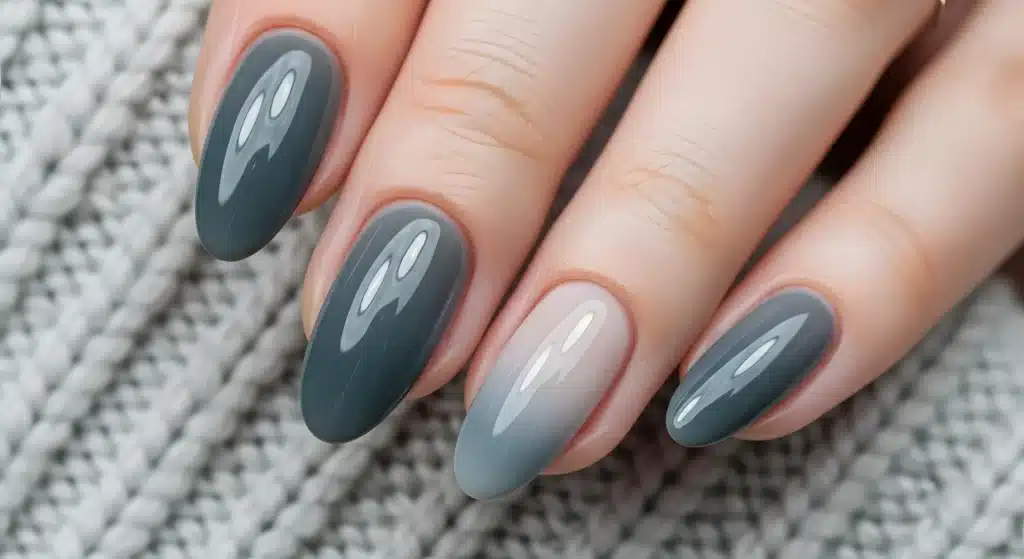
3. Ombré French / Baby Boomer
- Concept: A soft, gradient blend between the base color and the tip color, eliminating the harsh line.
- Traditional: Blend sheer pink into white seamlessly.
- Modern: Blend any two or more colors (e.g., nude to brown, blue to purple).
- Technique: Achieved with a sponge (makeup sponge) or careful brushwork. Requires practice for a smooth transition.
- Why It Works: Incredibly chic, soft, and sophisticated. Looks expensive and complex.
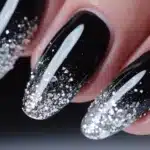
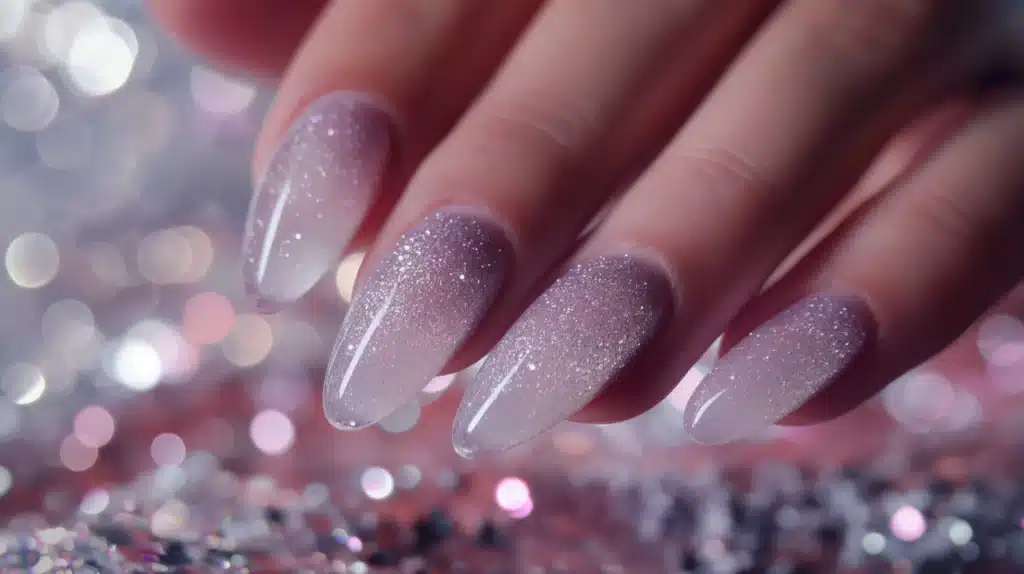
4. Glitter French
- Concept: Incorporate glitter into the tip design.
- Variations:
- Full Glitter Tip: Opaque glitter instead of white.
- Glitter Accent Line: A thin line of glitter along the smile line over a white tip.
- Glitter Ombré: Glitter fading from the tip towards the cuticle.
- Mixed Glitter: Combining different sizes/colors of glitter.
- Why It Works: Adds sparkle and festivity. Perfect for holidays, parties, or just adding glamour.
5. Negative Space French
- Concept: Leave parts of the natural nail exposed within the French tip design.
- Variations:
- Cutout Tip: A section of the tip is left bare, creating a “window.”
- Side French: The tip color is applied only to one side of the nail.
- Geometric Cutouts: Triangular or square sections left bare within the tip.
- Why It Works: Modern, minimalist, and edgy. Allows the natural nail to be part of the design. Great for shorter nails.
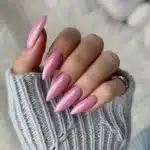
6. Metallic & Chrome French
- Concept: Use metallic polishes or chrome powders for the tips.
- Variations: Solid chrome tip (silver, gold, rose gold, holographic), chrome accent line, chrome ombré.
- Application: Chrome requires a special no-wipe top coat and rubbing the powder onto the semi-wet polish.
- Why It Works: High-impact, futuristic, and incredibly eye-catching. Reflects light beautifully.
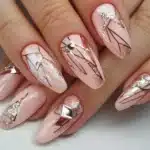
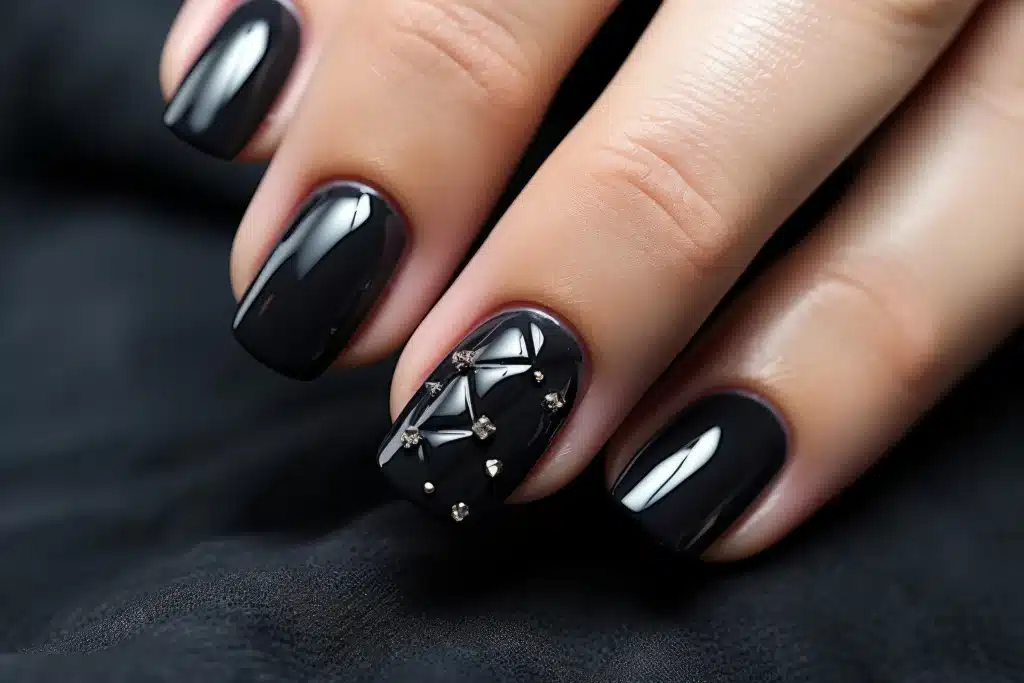
7. Floral & Artistic French
- Concept: Use the tip area as a mini canvas for intricate designs.
- Popular Motifs: Delicate flowers, abstract art, miniature landscapes, geometric patterns, animal print.
- Technique: Requires fine brushes, dotting tools, or stamping plates. Often done over a white or colored base tip.
- Why It Works: Transforms the French into wearable art. Unique and personalized.
8. Matte French
- Concept: Apply a matte top coat over a traditional or colored French manicure.
- Effect: Transforms the look from glossy and classic to modern, velvety, and sophisticated.
- Pro Tip: Matte finishes show fingerprints more easily. Apply a fresh layer of matte top coat before an event.
9. Double-Lined French
- Concept: Add a second, thin line just below or above the traditional smile line.
- Color Combinations: White tip with a metallic or black accent line; colored tip with a white accent line; two complementary colors.
- Why It Works: Adds visual interest and definition. Makes the smile line pop.
10. Micro French
- Concept: An extremely thin, delicate line of color (often white or metallic) tracing the very edge of the smile line.
- Effect: Subtle, minimalist, and incredibly chic. Looks like a natural enhancement rather than a bold design.
- Pro Tip: Requires a very steady hand or a fine-tipped striper brush. Perfect for those who want a hint of French without the commitment.
French Manicure for Every Nail Shape & Length
The French manicure is remarkably versatile. Here’s how to adapt it:
Short Nails
- Best Styles: Micro French, classic thin white tip, V-line French, negative space French.
- Why: These styles elongate the nail visually without overwhelming it. Avoid thick white tips which can make short nails look stubby.
- Pro Tip: Keep the smile line curve gentle and natural. A deep curve can make short nails appear even shorter.
Medium Nails (Most Versatile)
- Best Styles: Virtually any French style works well! Classic, colored tips, ombré, glitter, V-line, artistic.
- Why: Medium length provides enough surface area for creativity while still being practical.
- Pro Tip: Experiment with different smile line shapes (straight, curved, V) to see what flatters your fingers most.
Long Nails
- Best Styles: Bold colored tips, intricate artistic designs, dramatic V-line or double V, large negative space cutouts, ombré.
- Why: Long nails offer a larger canvas for more complex and eye-catching French variations.
- Pro Tip: Ensure the tip design is balanced with the nail length. A very thin white tip might look lost on very long stiletto nails, while a thick tip on long coffin nails looks striking.
Specific Nail Shapes
- Oval/Squoval: The most classic and flattering shapes for French. A gently curved smile line enhances the elegant shape.
- Round: A softly curved smile line follows the natural contour. Micro French or colored tips work beautifully.
- Almond: A slightly deeper smile line complements the tapered shape. V-line French is particularly stunning.
- Coffin/Ballerina: A straighter smile line or a deep V-line accentuates the squared tip. Bold colors and artistic designs shine here.
- Stiletto: A dramatic, deep curve or a sharp V-line mirrors the pointed tip. Best for bold, artistic, or metallic French styles.
The Science of Longevity: Keeping Your French Manicure Flawless
A French manicure’s elegance is quickly diminished by chips, lifting, or yellowing. Here’s how to make it last:
Application Secrets for Durability
- Meticulous Prep: This is 80% of longevity. Oils and moisture are the enemy of polish adhesion. Dehydrate thoroughly!
- Thin Coats: Always apply thin, even coats of base, color, and top coat. Thick layers chip easily and take longer to dry, increasing the risk of dents.
- Cap the Free Edge: Every single time you apply base coat, color, or top coat, run the brush horizontally along the very tip of the nail. This seals the edge and is the single best way to prevent tip wear and chipping.
- Wrap the Tip: When applying base and top coat, slightly run the brush under the free edge of the nail. This creates a “seal” and prevents water from getting underneath.
- Quality Products: Invest in good base coats (sticky/rubberized bases offer great adhesion) and top coats (quick-dry or gel-like top coats offer superior protection).
- Proper Drying Time: Never rush drying. Ensure each layer is completely dry before applying the next. Use quick-dry drops after the final top coat.
Daily Maintenance Habits
- Wear Gloves: Protect your manicure during dishwashing, cleaning, or any activity involving water or harsh chemicals. Hot water is a major culprit in lifting.
- Avoid Using Nails as Tools: Don’t open cans, scrape labels, or pry things open with your French manicure tips. Treat them like jewels, not tools.
- Apply Cuticle Oil Daily: Hydrated cuticles and nails are flexible and less prone to breakage or lifting. Massage oil in morning and night.
- Reapply Top Coat Every 2-3 Days: This refreshes the shine and adds a new layer of protection against wear and tear. Focus on the tips.
- Minimize Water Exposure: While washing hands is unavoidable, avoid prolonged soaking (baths, swimming without gloves). Pat nails dry gently afterwards.
- Be Mindful: Avoid activities that put direct pressure on the tips (typing aggressively, playing guitar without picks, etc.).
Troubleshooting Common Issues
- Chipping at the Tips: Cause: Not capping the free edge, using nails as tools, water exposure. Solution: Carefully file the chip smooth, apply a thin layer of base coat over the chip, reapply the tip color if needed, and seal with top coat (capping the edge!). For larger chips, a full repair is best.
- Lifting at the Cuticle: Cause: Oils left on the nail plate during prep, cuticle growth pushing under the polish. Solution: Gently push back the cuticle, clean the lifted area with a brush dipped in acetone, apply a tiny drop of base coat or clear polish into the gap, and seal with top coat. Prevention is better – perfect prep is key.
- Yellowing of the White Tip: Cause: Low-quality white polish, staining from dark polish worn underneath, smoking, sun exposure. Solution: Use a high-quality, non-yellowing white polish. Apply a base coat. Avoid smoking. Use a UV-protective top coat. If already yellowed, a gentle buff with a very fine buffer (4000+ grit) might help, but a new manicure is often needed.
- Smudges or Dents: Cause: Touching nails before fully dry. Solution: If the dent is in a color layer, you might be able to carefully smooth it with a drop of acetone and reapply that layer. If it’s in the top coat, apply another thin layer of top coat over the entire nail once it’s fully dry. Prevention: Use quick-dry drops and be patient!

French Manicure vs. Other Classic Styles: Choosing What’s Right for You
While the French manicure is iconic, other classic styles offer different aesthetics. Here’s how they compare:
| Feature | French Manicure | American Manicure | Ballet Slipper Nails | Natural Nails (Polished) |
|---|---|---|---|---|
| Core Look | Natural base + White tip | Sheer pink base + Sheer white tip | Soft pink base + Sheer pink tip | Clear base + Natural look |
| Tip Distinction | Defined white tip line | Very subtle, blended tip | No distinct tip line | No distinct tip line |
| Overall Vibe | Classic, clean, sophisticated | Softer, more natural, “healthy” | Ultra-feminine, delicate, clean | Minimalist, low-maintenance |
| Best For | Versatility, elegance, any occasion | Everyday wear, conservative looks | Weddings, romantic looks | Natural beauty, simplicity |
| Durability | Tip can show chips readily | Blended tip hides minor wear | Uniform color hides wear well | Chips obvious on natural nail |
| Maintenance | Moderate (tip upkeep) | Low-Moderate | Low | Low |
Why Choose French? If you want a defined, elegant look that’s universally appropriate, endlessly customizable, and makes your nails look clean and groomed. It offers more structure and impact than sheerer styles.
French Manicure Across Cultures: Global Interpretations
The French manicure’s core concept has been adapted globally, reflecting local aesthetics:
- Japan: Known for incredibly intricate and delicate “Kawaii” French manicures. Features tiny hand-painted details (bows, flowers, faces), pastel colors, and 3D charms applied to the tips. Precision is paramount.
- South Korea: Focuses on the “Glass Skin” equivalent for nails – ultra-smooth, glossy, and perfect. Popular styles include the “Aegyo-sal” French (a thin line mimicking under-eye bags for a cute look), sheer jelly French, and minimalist micro French with negative space.
- Russia: Embraces bold, glamorous interpretations. Thick, dramatic white tips on long nails, ornate crystal embellishments along the smile line, and rich jewel-toned tips are popular. Luxury is key.
- USA: Dominated by trend-driven variations. Constantly evolving styles like V-line, colored tips, ombré, and artistic French. Social media heavily influences trends. DIY culture is strong.
- Brazil: Known for vibrant, colorful French manicures. Bright neons, tropical colors, and glittery tips are staples. Often paired with nail art featuring local motifs. Focus on fun and flair.
This global adaptability proves the French manicure’s enduring appeal and versatility as a foundation for cultural expression.
Frequently Asked Questions (FAQ) About French Manicure Nails
Q1: Are French manicures still in style?
A: Absolutely! While the classic white-tip French has evolved, the core concept remains incredibly trendy. Modern variations like colored tips, V-lines, ombré, and artistic designs are hugely popular on social media and in salons worldwide. It’s a timeless style that’s constantly being reinvented.
Q2: How long does a French manicure typically last?
A: With perfect application and daily care, a high-quality French manicure can last 7-10 days on natural nails before noticeable chipping or tip wear occurs. Using a gel top coat or getting a gel French manicure can extend this to 2-3 weeks. Longevity heavily depends on your daily activities and how well you protect your nails.
Q3: Can you do a French manicure on very short nails?
A: Yes! Short nails are perfect for modern French styles like the Micro French (a very thin white line) or a V-line French. These styles actually elongate the appearance of short nails. Avoid thick white tips, as they can make short nails look stubby. A sheer pink base with a delicate white tip is very flattering.
Q4: What’s the difference between a French manicure and an American manicure?
A: The main difference is the tip. A French manicure features a distinct, opaque white tip against a sheer pink/nude base. An American manicure uses a sheer, off-white or very pale pink tip that blends almost seamlessly into the sheer pink base, creating a softer, more “natural healthy nail” look. The American is more subtle; the French is more defined.
Q5: Why does the white tip on my French manicure turn yellow?
A: Yellowing is usually caused by:
- Low-Quality Polish: Some cheaper white polishes contain ingredients that yellow over time or with sun exposure.
- Staining: Wearing dark or highly pigmented polish underneath without a protective base coat.
- Smoking: Nicotine can stain nails and polish.
- Sun Exposure: UV rays can degrade some polish formulas. Solution: Use a high-quality, non-yellowing white polish, always use a base coat, apply a UV-protective top coat, and avoid smoking.
Q6: Is a French manicure appropriate for a job interview?
A: Generally, yes. A classic, well-executed French manicure (sheer pink base, crisp white tip) is considered professional, clean, and appropriate for most corporate and conservative environments. It conveys attention to detail and grooming. Avoid overly trendy variations (neon tips, heavy glitter, bold art) for formal interviews unless you know the industry is very creative.

Q7: Can I do a French manicure with gel polish?
A: Yes! Gel French manicures are extremely popular due to their longevity and high-gloss finish. The process is similar to regular polish but requires curing under a UV/LED lamp after each layer (base, color, top). Gel French manicures can last 2-3 weeks without chipping. Removal requires soaking in acetone.
Q8: What’s the best way to fix a small chip in the tip of my French manicure?
A: For a small chip:
- Gently file the chipped area smooth with a fine-grit buffer.
- Clean the area with a bit of acetone on a brush.
- Apply a thin layer of base coat just over the chipped area.
- Once dry, carefully reapply the white polish to the chipped section, blending it into the existing tip.
- Seal the entire nail, especially the tip, with a fresh layer of top coat (capping the free edge!).
Q9: Are French manicures more difficult to do than regular polish?
A: Yes, primarily due to the precision required for the smile line. Achieving a clean, even, symmetrical curve takes practice and a steady hand. Using guides or stickers significantly helps beginners. Freehand application is an advanced skill. Regular polish application is generally more forgiving.
Q10: What nail shapes look best with a French manicure?
A: French manicures are incredibly versatile and suit most shapes:
- Oval/Squoval: The most classic and universally flattering.
- Round: Looks natural and clean.
- Almond: Elegant and elongating.
- Coffin/Ballerina: Modern and striking, especially with bold tips or V-lines.
- Stiletto: Dramatic and best suited for bold or artistic French styles.
- Square: Can look harsh with a thick white tip; opt for a thinner line or colored tip to soften.
Conclusion: The Enduring Allure of French Manicure Nails
The French manicure is far more than a simple nail style; it’s a cultural icon, a blank canvas for creativity, and a testament to the power of elegant simplicity. Its journey from a practical solution for Hollywood starlets to a global phenomenon, constantly reinvented yet instantly recognizable, speaks volumes about its unique place in beauty history.

What makes the French manicure truly exceptional is its duality. It can be the epitome of understated sophistication – the sheer pink base and crisp white tip conveying professionalism, cleanliness, and timeless grace. Simultaneously, it serves as the perfect foundation for boundless creativity. Modern variations explode with color, texture, pattern, and artistry, proving that even the most classic concept can be a springboard for innovation.
Whether you opt for the traditional white tip, embrace a trendy V-line in neon, adorn your tips with glitter, or commission miniature works of art, you’re participating in a legacy of style that transcends generations. The French manicure offers something for everyone: the minimalist, the maximalist, the professional, the bride, the trendsetter, and the classicist.
By mastering the techniques, understanding the nuances of application and care, and exploring the vast landscape of modern interpretations, you unlock the full potential of this iconic look. It’s a style that demands precision in its execution but rewards with unparalleled elegance and versatility. In a world of fleeting trends, the French manicure endures – not by remaining static, but by gracefully evolving while staying true to its core essence of clean, beautiful nails. It is, and will always remain, a masterpiece of nail art.

Sarah Williams is an experienced blogger and fashion enthusiast at Glammer Galaxy. With a passion for beauty and style, she shares expert insights on hair trends, nail art, and fashion tips. Her creative flair and years of experience make her a go-to source for all things glam!