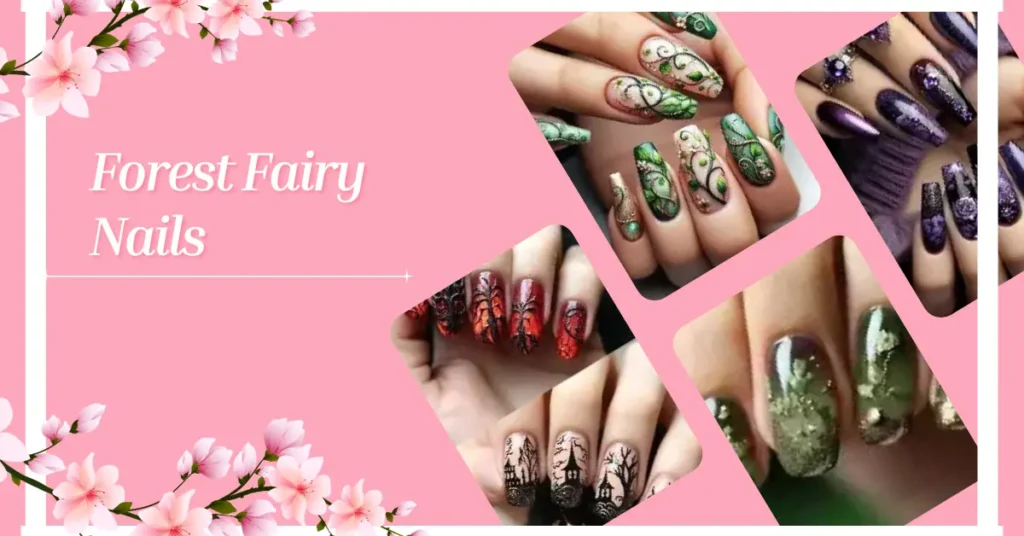
What Are Forest Fairy Nails?
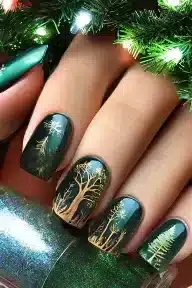
Forest fairy nails are an enchanting nail art trend inspired by mystical woodlands, ethereal creatures, and nature’s delicate beauty. These designs often feature:
- Soft pastels & earthy tones (mossy greens, lavender, dusky pinks)
- Whimsical details (tiny mushrooms, vines, dewdrops, butterflies)
- Iridescent & holographic finishes (like pixie dust or morning dew)
- 3D embellishments (gemstones, metallic foils, textured “moss”)
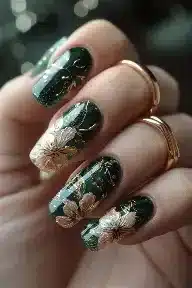
Perfect for festival season, bridal looks, or everyday magic, this style lets you wear a fairy tale on your fingertips.
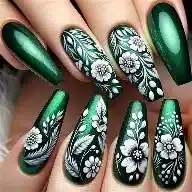
Best Forest Fairy Nail Designs
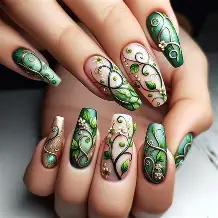
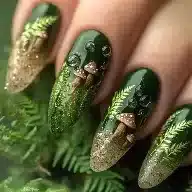
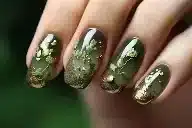
1. Moss-Covered Fairy Glen
- Colors: Deep emerald + sage green ombré
- Details: Matte “moss” patches with glossy 3D beads
- Accents: Gold leaf “sunlight” streaks
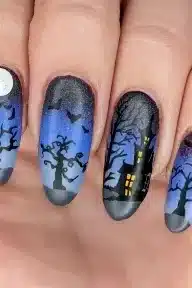
2. Twilight Mushroom Magic
- Colors: Purple-to-blue gradient with silver glitter
- Details: Hand-painted red-and-white toadstools, starry dots
- Extra: Glow-in-the-dark top coat for moonlit vibes
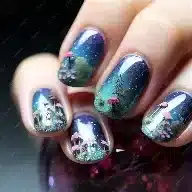
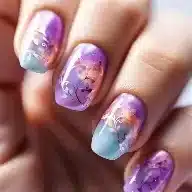
3. Dewdrop Fantasy
- Colors: Sheer pearl base + holographic top coat
- Details: Tiny resin “water droplets” + silver ferns
- Vibe: Like a fairy bathing in morning mist
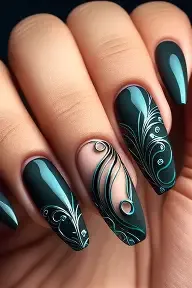
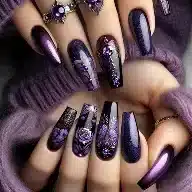
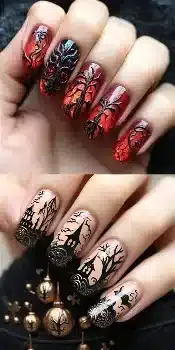
4. Gothic Fairy Elegance
- Colors: Blackened plum + chrome shimmer
- Details: Spiderweb lace, silver thorn vines
- For: Dark fairycore lovers

How to Create Forest Fairy Nails (DIY Guide)
Step 1: Prep Your Canvas
- File nails into oval or stiletto shapes for an “elfin” look.
- Apply a sticky base coat to prevent chipping.
Step 2: Paint the Background
- Use sponges for gradients (try mint + lavender).
- For “mossy” textures, dab on matte polish with a crumpled tissue.
Step 3: Add Fairy Details
- Vines & florals: Use a thin brush or stamping plate.
- Mushrooms & butterflies: Dotting tools work best.
- Dewdrops: Apply clear gel beads or tiny rhinestones.
Step 4: Seal the Magic
- Top with a glossy or matte top coat (or both for contrast!).
- Cure under a UV lamp if using gel.
Salon vs. DIY: Which is Better?
| Factor | DIY | Salon |
|---|---|---|
| Cost | Budget-friendly ($10-$30) | $50-$100+ |
| Time | 1-2 hours | 1-1.5 hours |
| Detail Level | Simple designs | Intricate hand-painted art |
| Longevity | 3-5 days | 2-3 weeks (with gel/acrylic) |
Tip: Book a salon for 3D charms or gel extensions if you’re new to nail art!

Pro Tips for Long-Lasting Fairy Nails
- Prep nails with alcohol wipes to remove oils.
- Wrap the tips with polish to prevent chipping.
- Moisturize cuticles daily with jojoba oil.
- Avoid harsh chemicals (wear gloves when cleaning).
Forest Fairy Nail Inspiration for Every Season
Spring: Pastel blooms + butterfly accents
Summer: Neon mushrooms + iridescent glitter
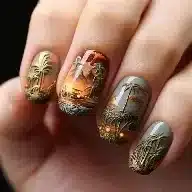
Autumn: Burnt-orange leaves + acorn details
Winter: Frosted berries + snowflake lace
Final Thoughts
Enchanted forest nails and Forest fairy nails are wearable fantasy, whether you’re channeling Tinkerbell or Maleficent. Save this guide for your next whimsical manicure!

Sarah Williams is an experienced blogger and fashion enthusiast at Glammer Galaxy. With a passion for beauty and style, she shares expert insights on hair trends, nail art, and fashion tips. Her creative flair and years of experience make her a go-to source for all things glam!